Meet my newest cold weather accessory - the fat quarter infinity scarf.
I really really love infinity scarves.
You know why?
They're easy.
Easy to make, easy to wear. What more could you ask for? I recently made one for a friend, and decided I needed one too. The scarf comes together in about 30 minutes, but the handwork took several hours. I used two fat quarters(which makes this scarf inexpensive too!), and since fat quarters are usually used in quilting, I decided to make my scarf like a mini-quilt. It has batting inside for added warmth, and then I hand quilted it (but you could machine quilt it if you're in a hurry).
Here's the tutorial if you'd like to make your own!
SUPPLIES:
2 Fat quarters (fat quarters are 18"x22")
a piece of batting 63"x 5"
Sewing machine/thread
Perle Cotton Thread (if you want to quilt it)
Quilting Needle
Step 1:
Cut both fat quarters into 3 pieces 6"x22"
Step 2:
Choose one fabric and sew the three pieces end to end, right sides together, to create a long strip 6"x64"(this number may be a little different depending on the seam allowance size you use).
Repeat with the other fabric.
Step 3:
Choose one of the long strips and lay the batting on the wrong side. Use a basting stitch (the largest stitch on your machine) and sew down the center of the batting - this will hold it in place until you quilt it. Lay the fabric strips right sides together.
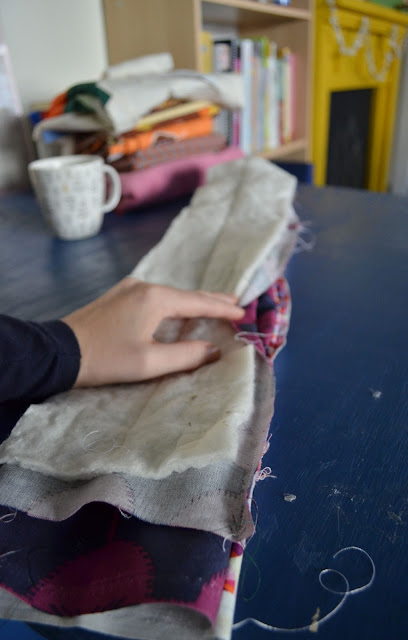
It should look like this:
Step 4:
Pin along the two long edges, making sure to mark a space to leave open near one of the ends. Your opening should be about 8".
Sew along the two long edges, except for the opening. Leave the ends open. Turn right sides out.
Step 5:
Take the end with the opening near it, and pull it inside out until one end lines up with the other end. You must be able to see the 8" opening.
Line up the ends and pin.
Step 6:
Sew, right sides together, all the way around.
Now reach through the opening and pull the scarf right sides out.
Step 7:
Hand whip the opening closed.
Now you are ready to quilt your scarf, either by hand or with your machine!
Once you've quilted it, you can remove the basting stitch, and it's ready to wear!
Hope you're staying warm this winter!
love from Japan,
jessica
Linked to this party today! :)


Thanks for posting this tutorial. I can't wait to make one.
ReplyDeleteI can see myself making this tonight. Thanks so much for this super tutorial.
ReplyDeleteI just found you through TJ and I can't tell you how much I love this. Adorable! Love the fabric choice and the big stitches. Also, I looked though your other projects–you have some great stuff here! Therefore, I’d like to invite you to link up at my new link party (I know, an other link party?!?) but this one is different. It is for our OLD posts, great ideas that we feel didn’t get enough attention the first time around.
ReplyDeletehttp://www.dosmallthingswithlove.com/2013/01/hello-and-welcome-to-first-oldie-but.html
Hope to see you there!
You read my mind! I was just looking at my fat quarter stash, wondering what to make that would showcase the pretty fabric. Thank you so much for sharing this beautiful project! I am heading to my sewing dungeon:)
ReplyDeleteThanks for posting this -- I tried to make a simple quilt using a similar technique and your instructions would have saved me so much time. :)
ReplyDeleteGreat scarf!
ReplyDeleteLearn how to make a knit infinity scarf without knitting!
http://happinessiscreating.com/ciy-infinity-scarf-2/
This is a fabulous use of fat quarters- very fashion minded!! Love it!! Thanks for sharing!!
ReplyDeleteI wanna know about the hooks you used to display the scarves... they are super cute! Did you make them?
ReplyDeleteThanks so much for your tutorial! I made my version of your FQ scarf earlier this week and I'm so happy with it :)
ReplyDeleteI've blogged about it here(link blow), in case your interested in having a look.
http://formylittlemonster.blogspot.com.au/2013/06/nap-time-craft.html
Thanks again!