


Sooooo this started out as a kid's craft, but the further along I got it really became a Mommy craft :) Depending on the ages of your kids, they may or may not be able to help with the whole process. On Mondays and Fridays I watch two other kids for a friend - one is a 3 year old girl - Charlotte's BFF, and one is a sweet little 3 month old boy. So I've been trying to conjure up activities for us to do, especially on rainy days like we had on Monday. Since the girls are 3 and 2 1/2 the only part they could really help with was the finger-painting. But that was great fun.
So here's how you and your kiddos can make your own hot air balloon mobile!
Supplies for one mobile:
2 pieces of white cardstock
1 piece of colored cardstock
scissors
finger paint
yarn or string
2 long, thin dowels or skewers (I just cut the pointy ends off)
hole punch
stapler, tape.....glue possibly
Step 1: Cut the pieces of cardstock in half, so you have four pieces 8.5" x 5.5" inches. Finger paint both sides of all four pieces of paper. Let them dry.

Step 2: Cut the painted pieces of paper into 1" x 5.5" strips. You will need 6 strips for 1 balloon.

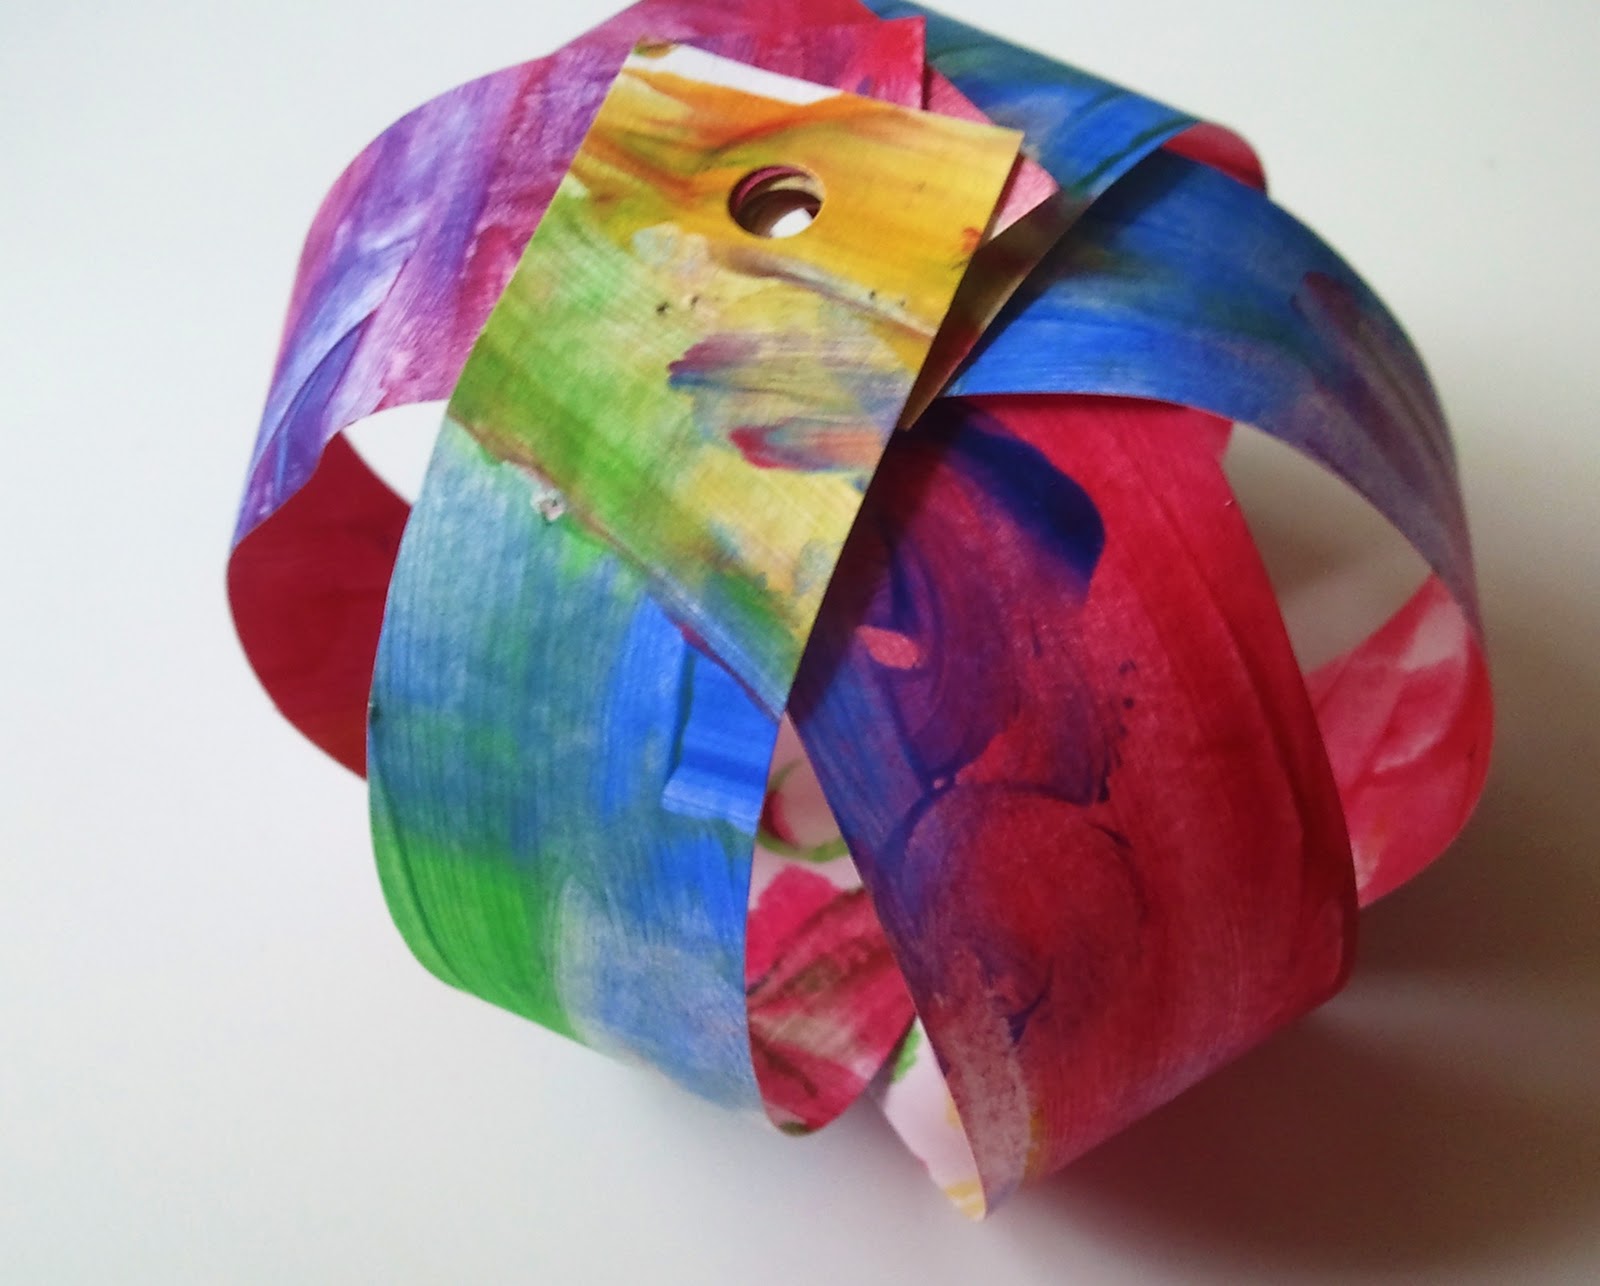
Step 3: Stack all 6 pieces and punch a hole through one end. (you may have to do 3 at a time).
Step 4: Lining up the holes, fan out the strips so they make a star shape. Staple or tape them in the center - just don't cover the hole.

Now bend them so that the other ends all meet - forming a sphere shape. Tape/staple/glue/whatever to get those to stay in place. ( I only have a tiny stapler, and it wasn't cooperating so I used tape. If you have a large stapler I would suggest that.)
Step 5: Make the "basket" by cutting a 1"x4" strip from your colored cardstock. Roll it into a ring and tape in place. Punch a hole in each side of the basket.

Tie the string into a knot on one side of the basket. Feed it through the balloon and tie it onto the other hole in the basket.

Step 6: Feed a piece string through the top hole you punched in the strips. Use a small piece of tape to secure the string on the inside of the balloon.
Step 7: Once you have made all the balloons you can begin to hang them on your dowels. Cut one of the dowels in half so that you have 1 long one and 2 short ones.
{Optional step: you can wrap the dowels in yarn - I thought it softened the look}
Hang one balloon from the center of the long dowel. Hang a short dowel from each end of the long dowel. From each end of the short dowels, hang one balloon. On one of the short dowels hang the last balloon in the center.

Enjoy!
xoxo
jessica
I made something similar with just the spheres out of used greeting cards and I found it easier to put paper fasteners in the holes to keep it together.
ReplyDeleteThis is a really cute idea Jessica! I love that the paper is artwork they've created - it makes it that much more special!!
ReplyDeletethese are adorable! I have had hot air balloons on the brain lately as inspiration, I love your kids crafts!
ReplyDeletelove these! i'm on a mobile kick at the moment. these are perfection. great job!
ReplyDelete-shawnacy
beautiful! What a wonderful way for us to celebrate our weather lesson. I can't wait.
ReplyDelete