Showing posts with label clothes. Show all posts

Thursday, July 21, 2011

*CTSB* - Organzing Children's Clothing - Melissa from Love Affair with My Brother

Is the condition of your home giving you the summertime blues?
Today we have Melissa from Love Affair with My Brother to help us get organized! 
Take it away Melissa!


Time to get organized! Because Spring isn’t the only time for big cleaning projects!
Hi, I’m Melissa from Love Affair with My Brother. I have been sewing for 19 years, quilting for 10 years and being crafty pretty much my whole life. I have been a “collector” for much of my life too – my husband uses the word “hoarder” but I don’t like that word! This is where today’s post comes in…

To say that my baby never wanted for clothes would be an understatement! She has always had more clothes than I have ever owned in my life. At times this was completely understandable – after all there were days when she was an itty bitty baby that we went through three or four outfit changes in a day. Now…this just means that I have more baby clothes than I know what to do with. Oh, and did I mention that at 19 months old she is already wearing 3T and 4T clothes?!?

This is a QUEEN size bed and her clothes (everything but what currently fits) fill the ENTIRE bed!!!
Needless to say it’s time to go through everything and get organized.
Here’s what you need – 5 bins, a sharpie and some tape for labeling – oh yeah and the ability to make some tough decisions!

I labeled my boxes Give to Friend, Donate, Keepsakes, First Year Memory Quilt, and Jammy Quilt.

I have two big projects in mind that I want to do with her clothes – I want to make a first year memory quilt – I am using things like my favorite onesies that she wore and cute tops. I will be cutting these apart and sewing them back together – I really needed to sort through her clothes and make decisions because I am the kind of person who will hold on to her entire wardrobe because 20 or 30 years from now she may have her own daughter and if I saved these clothes for her then she wouldn’t need to buy anything. I know…completely crazy right?!? That’s why getting organized and making some tough choices is an absolute must for me.

The other project box is for a “Jammy Quilt”. I am taking all of her fleecy and soft jammies and I am going to cut them apart and make a cuddle quilt for her. I am really excited about this project and I think it is a great way to preserve some of the clothes that she spent the most time in as an infant.

Here are the types of things that ended up in the Keepsake Box:


The dress on the left was handmade for her and the shirt on the right was actually mine when I was a baby.

That was pretty much my criteria for the “keepsake” box. It had to be handmade or something that I couldn’t bear to see cut up or given away. Her Easter, Halloween, and Christmas outfits all ended up in there too. The box looks as though it is going to overflow, but that is because I decided to keep her sleep sacks and winter snow suits as well. We live in the Pacific Northwest and if we have another baby I really don’t want to start at square one with everything.

The "give to friend box" was all of Anne’s 18 month clothes and larger that weren’t going in the keepsake or quilting boxes. This made the donate box even easier to fill because if it wasn’t going in one of the other four boxes it was going there!

Did I mention I had a really cute helper?


Believe it or not this activity entertained her for the entire hour it took me to sort through the mountain that was her clothes. She played with her old shoes, climbed into one of the boxes and for awhile just sat on the bed and handed me clothes one item at a time.

The last item to get packed up was her “going home outfit” from the hospital.


Here’s what it looked like when everything was sorted and packed


And now I can honestly say to my husband “No dear not everything is staying”. Now I just need to get myself to the Goodwill and to the Post Office. I suppose I also need to start cutting up her clothes to make her memory quilts too, but that is another day and another tutorial!

For now things may look like this for a couple of weeks until I can get to the post office and the good will.


My husband was so happy when he came home and saw everything cleaned up and put away!

And here is how my helper looked when we were all done – needless to say nap time quickly followed the end of this project!


What do you need to go through and organize? Do you have a hard time parting with things too? For me it is all about the memory attached to the item. Good luck with your summer cleaning and organizing and don’t be afraid to get the kids involved if it can entertain a 19 month old, then it can definitely keep older children busy!

I would love it if you took a few moments to check out Love Affair with My Brother, we love new followers! We do weekly tutorials and great giveaways on a fairly regular basis! Thanks for spending some time with me today!


Friday, July 8, 2011

The "Too Hot To Shop Shirt"


Need to boost your wardrobe, but really don't feel like loading up the kids and heading to the store?
Grab a box of popsicles for your little ones and whip this shirt up in under an hour.

It's basically a pillowcase dress turned into a shirt.
Before you turn your nose up at that - look at this shirt for sale at Anthropologie.
$68
So I basically copied that, but when I finished I wasn't happy with the way it was hanging.  I added the band around the bottom, and made it fit snugly over my hips.  You could make it with or without that step.
Here's what you'll need to make your own:
1 yard of fabric
5" x 45" of contrasting fabric (or wide ribbon) for straps
4" x the circumference of your hips for the bottom band
sewing machine/thread
scissors
measuring tape

Step 1:  Cut two rectangles - the desired length x your bust measurement +10".  
My rectangles were 19" x 46".

Step 2:  Turn them right sides together and zig zag or serge the sideseams, 
stopping about 8" from the top (to provide armholes).

Step 3: Finish the armhole edges by folding the raw edge under 1/8" then under 1/8" again.  
Topstitch it in place.

Step 4:  Make the casing for the straps - fold the top under 1/4" then again 1 1/2".  Press it, then top stitch it in place.  If you are not adding the strip along the bottom, hem your top by pressing the bottom edge under 1/4" then another 1/4".  Top stitch in place.

Step 5:  If you are making the band around the bottom, you will need to take in the sideseam.  Measure your hip circumference - mine is 39" - flip it inside out and mark that measurement along the bottom of the shirt.  Sew from the armhole down to your mark - like this:

Step 6:  Make the straps - ribbon is the easy route here, but if you want to use fabric simply fold the strip right sides together length wise and stitch down the length then turn and press.

Use a large safety pin to feed it through the casing.  Stitch the ends together, then hide that seam in the casing.
I didn't want the straps sliding all around, so once I had the straps to the right length I stitched them in place.

Step 7:  If you are adding the band, sew it to the bottom of the shirt right sides together.
Press it, then hem the bottom.

I know it looks like a pillowcase dress hanging there - but especially with that band around the bottom - it doesn't look like that once you have it on.


Happy sewing and happy weekend!
xoxo
jessica

Friday, April 29, 2011

Family Fashion Week Day 5 - Wardrobe Roundup

Well I hope you have enjoyed this week, and I hope you have lots of ideas for sprucing up your family's summer wardrobe.  Today I have a great roundup of links for you - lots of great tutorials for clothing for the whole family.  Enjoy!


Ever thought about making a tie?  It's easier than you think. 
 Here's the tute.

Make this gorgeous tank for yourself!

These adorable bandana pants are super easy to make. 
Check them out!

Make this adorable twirly skirt with
House on Hill Road.

Lastly, check out the tute for this great canvas beach bag!
 
I hope you have a great weekend!  We are getting ready to party big - graduation today and graduation party tomorrow.  I'll have all the details for you next week.
xoxo
jessica

Tuesday, April 5, 2011

DIY {30 minute}Tank-Dress

Have somewhere to be in an hour? Nothing to wear? 
No problem - you can whip this baby up in 30 minutes or less.


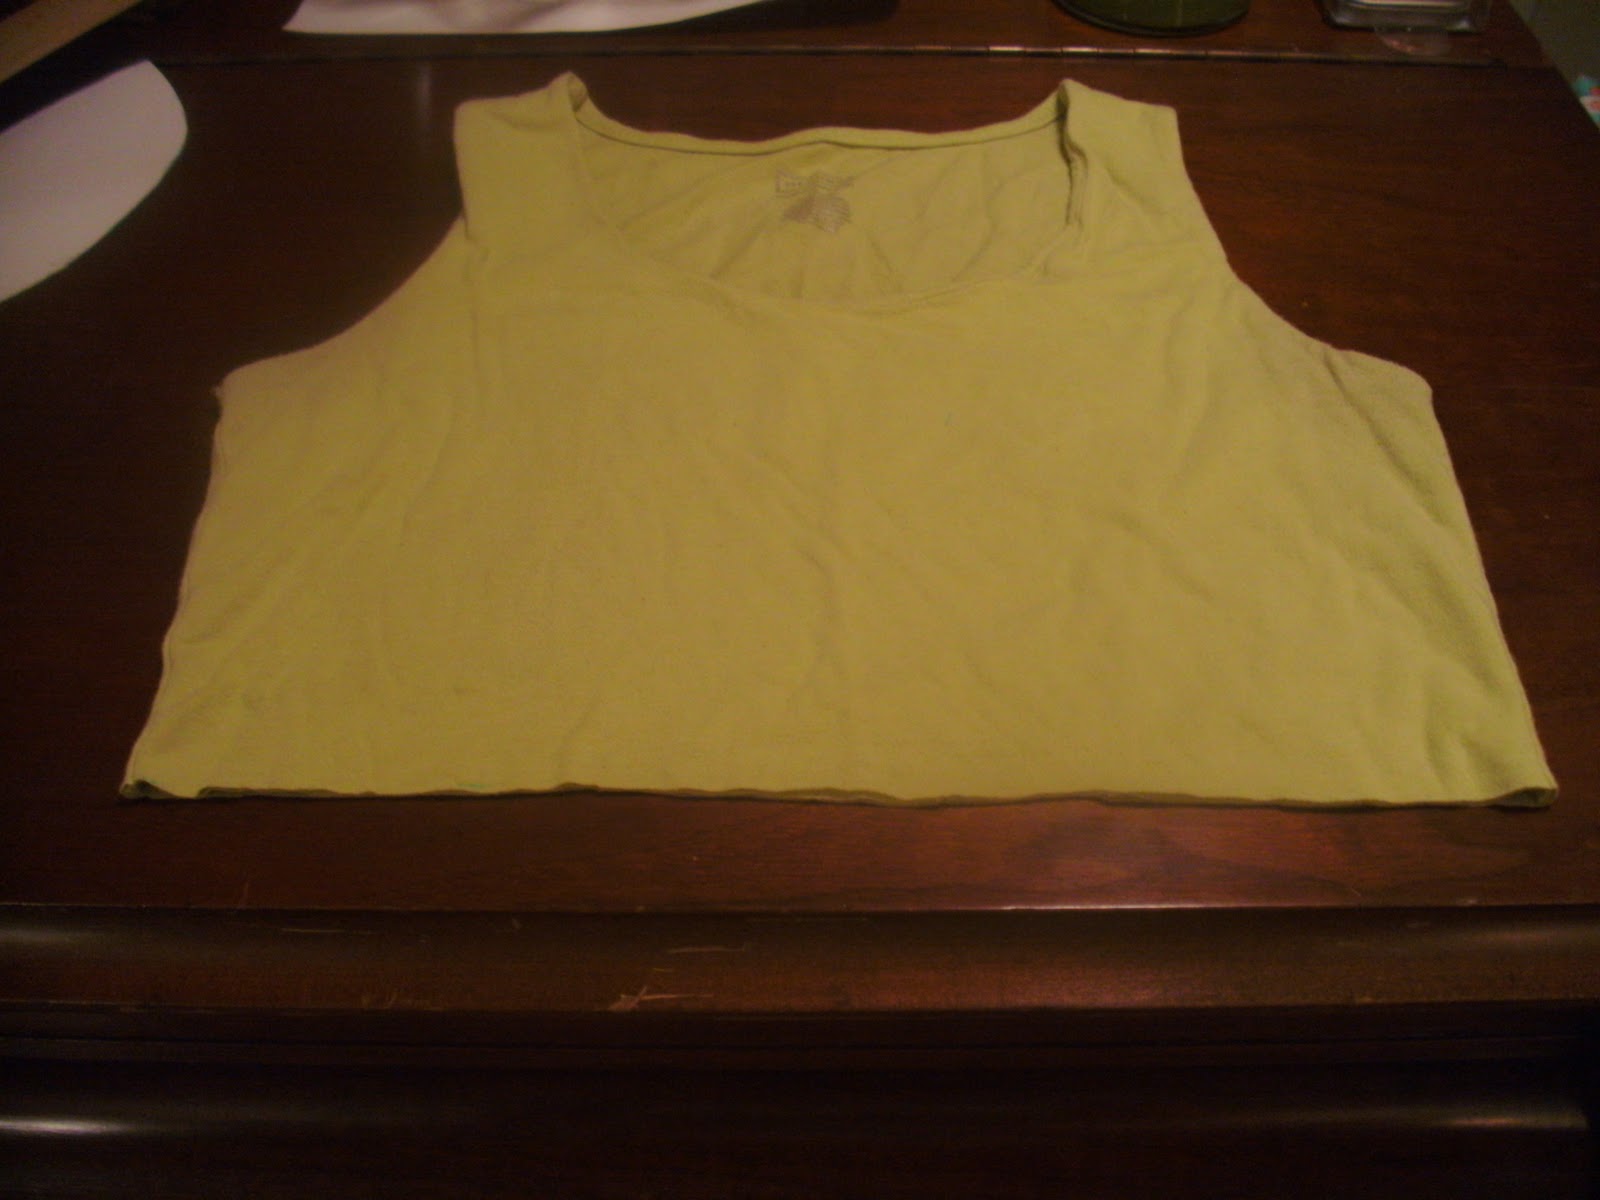
I've been wanting to make one of these for a while, and I must confess that now that I have made one...well my entire summer wardrobe might consist of these.  This little dress is so easy to make, and a great way to revitalize a sad, forgotten tank top.  Here's what you'll need to make your own.
Tank top
1-2 yards of fabric (depending on the size you make)
sewing machine/thread/scissors/yardstick

Step 1:  Cut off the tank top.  Try the tank on, and make a mark just below your bustline.  You could also make it at your natural waistline for a different look.  Take the tank off and measure to your mark from the shoulder seam.  Add an inch, then draw a horizontal line across the tank.  Cut along the line.

Step 2:  Measure the width of the tank top, where you just cut it.  Mine was 14" across.  Double that number (28") then add half (14") + 1" = 43".  This is the width you cut your fabric at.  Just cut it at a long length to begin with, because you will hem it when you try it on. (I cut mine at 43" x 30").

Step 3:  Set your sewing machine stitch to baste (most machine's that is a length of 5). Sew along the 43" inch edge of the fabric.  Pull the strings carefully to gather it down to the width of your tank plus 1". 
(mine was 28" + 1" = 29")

Step 4:  Sew the gathered edge onto the cut edge of the tank top, right sides together (don't forget to switch your stitch back to the regular length).  If you have a knit stitch (usually looks like a lightening bolt) it would probably help to use it.  I forgot to use it on mine, so you can do it without it.  When you've sewn all the way around, begin to sew down the side seam of the open side of the fabric. 

Step 5:  Press the seams well, then try the dress on.  Fold the hem under where you want it and pin it.  Take off the dress.  I cut about 5" off the bottom - you may or may not need to do this depending on the length you would like the dress to be.  

Then press the bottom edge of the dress toward the wrong side about 1/2" inch.  Fold it over another 1/2" and press again.

Stitch the hem - have the wrong side facing you so that you can see the folded edge of the hem.

And that's it!  Throw on a belt to cinch the waist a little and head out looking effortlessly put together.

happy sewing
jessica

You may also enjoy...

Related Posts Plugin for WordPress, Blogger...