Showing posts with label dress. Show all posts

Friday, June 17, 2011

Beginner Maxi Dress

**I recently started blogging again!! Check out my latest posts here**


Happy Friday friends!  
Today I have the world's easiest dress for you - and it is so comfortable 
(and I had a coupon for the fabric so it only cost $13)!
and let me just say - modeling is hard.  
That's probably why those Anthro models always look so grumpy and tired.

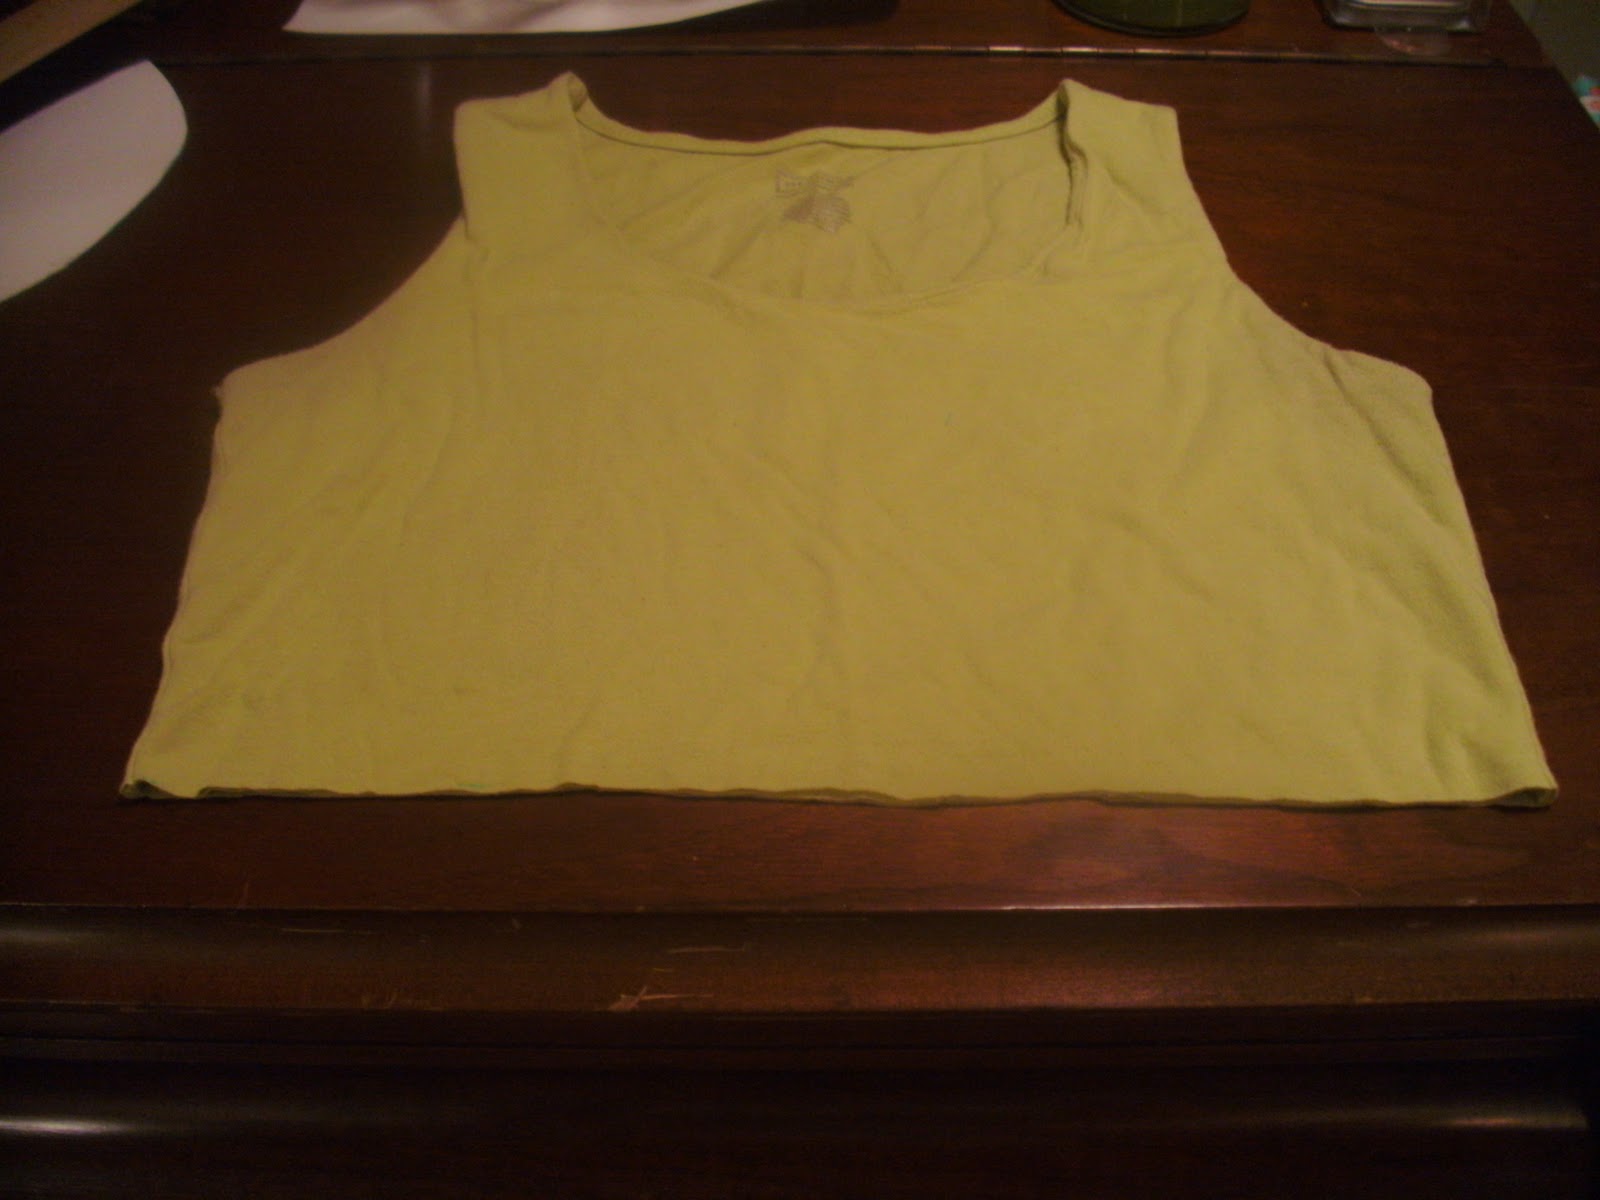
So, I started out by making a top by Natalie at the Hungry Hippie.
It is super easy and I love it.  
I was wearing that top one day, and talking with a friend, 
and she said - why not just extend it and make it into a dress?  So that's what I did!  
Check out Natalie's tutorial for making the top, then come back here to see how I changed it into a dress.
(you will have to go see her's because I don't explain everything in my tute)

Supplies: 
3-4 yards of jersey knit (depending on your height - I used about 3 1/2 yards)
thread
sewing machine
scissors
elastic thread
yard stick

Step 1:  Fold the fabric so that it is longer than it is wide. (mine was 1 1/4 yards long (folded) and 60" wide).
Lay out a knit shirt that fits you - maybe one that is slightly baggy.
  

Draw one arm and one side - flaring out once you get to the waist.
Find the center top along the fold and then fold your cut half onto the uncut half.  Make sure it is straight.  Trim out the other side.

While it is still folded cut a neckhole - start small you can always make it bigger - enough to get your head through.

Step 2:  Sew it up like Natalie suggests.  Turn it right sides out and try it on.
 Put a pin at the lowest point you would like the neckline to come, and put some pins in where you would like the bottom of the dress to fall.  

Step 3:  Take it off and fold it in half length-wise again.  Trim off the bottom along the line where you pinned it, and trim your neckline to the pin.

Step 4:  Wind some elastic thread onto your bobbin (either by hand or with your machine).  
Turn the dress wrong side out and measure from under the arm down about 15".
  
IN THE SEAM, sew down those 15" with the elastic thread.  Be certain to backstitch at the beginning and end of your stitch otherwise the elastic will come out and you will be sad.  Repeat this process on the other side.  This slight ruching will give you just a little bit of shape...and hide any unslightly lumps or bumps which I'm sure you don't have... ;)
And that's it!  Be sure to trim your threads - pair it with a belt and some funky jewelry and you're ready to hit the town!  

Hope you have a great weekend, and as always if you have any questions about a tutorial leave a comment or email me at jessica(at)sewhomegrown(dot)com.
xoxo
jessica

Thursday, April 28, 2011

Family Fashion Week Day 4: Tank Top Ruffle Dress

Happy Thursday everyone! Are you enjoying Family Fashion Week so far?  Today I have a tutorial for a child's tank top dress, similar to the one I made a few weeks ago.  I made this dress for Charlotte to wear to Ryan's graduation (which is tomorrow!).  I wanted something orange and blue (go Gators), but not tacky.

I was inspired by this dress at Janie and Jack:
I liked that it was tiered, but that the layers were connected.  Obviously I changed it some - I added the ruffle to the neckline, and made 4 tiers instead of 3. 
Here are the supplies you will need to make one:

1 Tank Top in your child's size
1/2 yard of each color of fabric (I chose voile because it ruffles and hangs nicely.)
Sewing machine/thread
scissors/yard stick

Step 1:  Cut off the bottom of the tank top.  Try the tank on your child and determine where you would like the first tier to start.  Add 1/2" to that and make a mark.  Take it off your little one and draw a line across at the mark and cut along that line.
Save the bottom portion of the tank top, because that is what you will use to make the ruffle at the neckline.  

Step 2: Cut 4 strips - two of each color - 5" x the width of the fabric.  Press under both long sides of the first tier about 1/2".  On the other three strips you only need to press one long side.  

Step 3:  Gather the first strip.  The easiest way to do this is to set your machine tension the highest it will go (mine is 9) and lengthen your stitch to the basting stitch.  Then while you are sewing, place a finger behind the presser foot and as you sew, the fabric will bunch up as it runs into your finger.  When you are done, you will have a nicely ruffled strip.  Be sure to leave nice long tails of thread on both ends so that you can adjust your ruffles.

Step 4:  Pin it right on top of the tank top and topstitch it on - if you have a knit stitch on your machine it would be best to use it.

Step 5:  Pin the next strip(unruffled) to the bottom of the first tier.  

Top stitch the first tier to the second tier.
When you sew all the way around the strip, the side seam will be open. Just tuck under the raw edges lay one edge on top of the other and topstitch it closed like this:

Continue this method until you have all the tiers sewn on.

Step 6:  Using the left over knit from the tank, cut two strips 1 1/2" x the width of the tank.

Sew them end to end to create one long strip, then ruffle it using the method in Step 3.
Pin it to the edge of the neckline.  You don't have to worry about raw edges because it's jersey knit!!

Top stitch the ruffle on the entire neckline.

Step 7:  Lastly try the dress on your little one and mark the hem.  Press it under 1/4", then 1/4" more and stitch all the way around the hem.

That's it!  A sweet little summer dress without the trouble of making a bodice.  I love it you guys.  Seriously.  I made another tank top dress for myself to wear to Ryan's graduation.  I'll show you pics later.  
Happy sewing!
jessica


Wednesday, April 13, 2011

Psychadelic Pillowcase Dress


So someone clicked the "Suggest a DIY" button(which I was thrilled about!) and asked for a pillowcase dress tutorial.  I have to admit, I'm not crazy about pillowcase dresses.  In fact, I'd never made one{gasp!} - I know.  It's like a staple clothing item for little girls....isn't it even a requirement to make one if you have a crafty blog?! 
So first I though I'd make a really modern, edgy one. 
Well 3 hrs later it looked like a clown costume...

It's okay to laugh.  I am. 
Sooooo I started over and decided to use an actual pillowcase.  I used a jersey knit pillowcase that will be great for play.  The other fantastic thing about jersey knit is you don't have to finish edges - like around those pesky armholes.  I also tie-dyed it for fun.  Here's sweet Charlotte wearing it:

Ready to rock and roll?  Here we go.

Supplies:
jersey knit pillowcase
tie-dye kit (if you're so inclined)
sewing machine
thread
scissors/yardstick

Step 1:  Tie-dye the pillowcase.  You remember from camp right?  Pull a section of the pillowcase up and wrap rubber bands around it.

Squirt the dye on and let it sit.  Rinse it off and then wash it and dry it.  Now you're ready to sew.

Step 2:  Determine the length of the dress.  For Charlotte (size 3T) I went with.22".  Add an 1 1/2" for the casing and cut the top of the pillowcase off so that is measures your length (I cut mine at 23 1/2"). 

Step 3:  Cut the arm holes.  Fold the pillowcase in half lengthwise and measure 2" in and 5" down (4" for a smaller size, 6" for a larger size). 

Cut a curved line from the 5" mark to the 2" mark. 

Armholes.  Done.

Step 4:  Now fold over the back top edge 1 1/2"

and sew across.  Repeat with the front top edge.  Neckcasing.  Done.

Step 5:  Make the tie.  Cut a 2" strip from the extra fabric.  It will be in a loop. 

Cut one side so that it is one long piece. 

Attach a safety pin to one end and feed it through the front and back casing.  Tie in a bow. 

Optional Step 6:  Cut a strip about 1 1/2" wide to about 1 1/2" from the edge and stop.  Repeat but this time cut all the way through.  It will look like this. 

Take the part that is connected and lay it out flat and cut it in two diagonals like this:

Now you have one long strip.

Use the basting stitch on your machine and sew right down the middle of that strip.

Gather it and pin it onto the bottom of the dress.

Topstitch it on.  Put it on your little sweetheart and enjoy the fabulous weather!

happy sewing and if anyone wants to suggest a DIY please do so!
jessica

Tuesday, April 5, 2011

DIY {30 minute}Tank-Dress

Have somewhere to be in an hour? Nothing to wear? 
No problem - you can whip this baby up in 30 minutes or less.


I've been wanting to make one of these for a while, and I must confess that now that I have made one...well my entire summer wardrobe might consist of these.  This little dress is so easy to make, and a great way to revitalize a sad, forgotten tank top.  Here's what you'll need to make your own.
Tank top
1-2 yards of fabric (depending on the size you make)
sewing machine/thread/scissors/yardstick

Step 1:  Cut off the tank top.  Try the tank on, and make a mark just below your bustline.  You could also make it at your natural waistline for a different look.  Take the tank off and measure to your mark from the shoulder seam.  Add an inch, then draw a horizontal line across the tank.  Cut along the line.

Step 2:  Measure the width of the tank top, where you just cut it.  Mine was 14" across.  Double that number (28") then add half (14") + 1" = 43".  This is the width you cut your fabric at.  Just cut it at a long length to begin with, because you will hem it when you try it on. (I cut mine at 43" x 30").

Step 3:  Set your sewing machine stitch to baste (most machine's that is a length of 5). Sew along the 43" inch edge of the fabric.  Pull the strings carefully to gather it down to the width of your tank plus 1". 
(mine was 28" + 1" = 29")

Step 4:  Sew the gathered edge onto the cut edge of the tank top, right sides together (don't forget to switch your stitch back to the regular length).  If you have a knit stitch (usually looks like a lightening bolt) it would probably help to use it.  I forgot to use it on mine, so you can do it without it.  When you've sewn all the way around, begin to sew down the side seam of the open side of the fabric. 

Step 5:  Press the seams well, then try the dress on.  Fold the hem under where you want it and pin it.  Take off the dress.  I cut about 5" off the bottom - you may or may not need to do this depending on the length you would like the dress to be.  

Then press the bottom edge of the dress toward the wrong side about 1/2" inch.  Fold it over another 1/2" and press again.

Stitch the hem - have the wrong side facing you so that you can see the folded edge of the hem.

And that's it!  Throw on a belt to cinch the waist a little and head out looking effortlessly put together.

happy sewing
jessica

Friday, July 9, 2010

Weekend Sewing...in the middle of the week

If you haven't taken a look at this book, you really should.  
Weekend Sewing: More Than 40 Projects and Ideas for Inspired Stitching 

Heather Ross, (one of the teachers at Purl Soho) has compiled such a wide 
variety of projects, it could be a really versatile gift-
for yourself or a friend ;) 

The first project I made from this book, was this little sundress:


It was my first venture with elastic bobbin thread and her instructions were thorough and easy to follow.

I'll be making many more things from her lovely book soon.  
Today we are off to Tennessee Quilts in Jonesborough, TN to shop their 8000 bolts of fabric!!!

You may also enjoy...

Related Posts Plugin for WordPress, Blogger...