Showing posts with label give-aways. Show all posts

Sunday, February 12, 2012

A sweet giveaway for you!!!

I know I am long overdue for a giveaway here!
I really appreciate you reading this blog, and all your lovely comments, and giveaways are one way we bloggers like to say thanks!  So today I have a special giveaway - 
2 Liberty of London fabrics that are printed only for Japan and 2 rolls of washi tape!!

In 2010 Liberty of London printed a special Hello Kitty fabric for Japan - isn't she adorable?!?


I selected a coordinating Liberty of London to go with it.

These aren't quite fat quarters, because they do everything in meters here, but the measurements are 15"x21".  So here's what I've been thinking about.  I have less time to blog right now(between pregnancy and then arrival of baby), so I want to be sure that my posts are tailored to what you want to read.  
So to enter to win these fabrics please 
  • leave a comment telling me which is your favorite thing to read about on Sew Homegrown (of course you can also give your own suggestion that is not on this list). 

                               *clothing sewing projects      *recipes      *things about Japan 
    
                        *knock-off DIY's          *home decor sewing projects        *kids crafts

  • for a second entry, become a follower of Sew Homegrown (if you are already a follower, let me know in a second comment).
Hopefully this will help me write about the things you want to read about :)  
This giveaway will be open from now until Friday February 17th at midnight.
Good luck!

Monday, July 11, 2011

Free Fabric Frenzy!!!!! - a giveaway

Whose Monday just got better?!?!
I don't think I've told you yet, but we're moving in about 3 weeks.
In an attempt to start organizing things...
I went through my fabric stash and found tons of fabric to give to you!!!!!
It's all home decor weight fabric.
I separated it into three groupings - they have about the same amount of fabric each.

The pieces are all different sizes but they are big enough to make something interesting such as:
a pillow, table runner, or bag.

So here's how you enter:
First Entry: 
Comment on this post and tell me which grouping you like best.
Second Entry: 
Become a follower of this blog 
(if you're already a follower you'll get a second entry automatically)
Third Entry:  
Like me on Facebook and leave a comment letting me know you did :)
Fourth Entry:
Tweet/Facebook/Blog about this giveaway and leave a comment letting me know you did :)

This giveaway will be open until Sunday July 17th at midnight eastern time.  I will announce the winner on Monday the 18th to kick off my summer series
"Cure the Summertime Blues".
If you're email isn't in your profile, please leave it in your comment so I can contact the winner - otherwise you won't get your awesome fabric!!!
Good luck!
xoxo
jessica

Monday, June 6, 2011

Silhouette for Bows + Giveaway!!

I have three gorgeous, amazing, wonderful, creative, funny, and intelligent little girls. I love them beyond all reason and would move mountains for them. That being said, for all you mamas of precious, handsome, rascally little boys. . . bless your hearts. You are so lucky!

We have so much HAIR!!! And since we are diva, princess, stylin' little girls, we must have ribbons, bows, barrettes, clips, elastics, headbands, and any other hair accessory to hold it away from our face or to make the hair look MORE beautiful.

UGH! I have tried and tried to clean up and organize, however three little girls spending 5 minutes each looking for just the right hair accessory leaves a HUGE mess. I just really don't like clutter because it is frustrating and inefficient (oh. . . but don't talk to Jessica about my fabric trunk. . . yeah. . . we won't discuss inefficiency or clutter in that regard, no, definately not). Soooooooo. . . . I have been thinking of a way to hang up and display the pretty little bow collection we have going on and I came up with this idea and it is really very simple (really, I mean it)!!! Read on, see what you think and find out my surprise at the end (hee hee, its a good one).

So this is what you need:
8x10 piece of felt (25 cents at Hobby Lobby)
Frame minus the glass (I found 11x14 was a perfect size)
fat quarter of fabric (simple pattern is best)
Ribbon (at least two kinds, a yard each)
glue (I used hot glue)
pins
sharp scissors
child's silhouette

So here we go, first you need put your little girl's hair up into a ponytail or bun. It is necessary for this to work. Now to make a silhouette of your child. You can do that by following this tutorial and printing your silhouette on 8 1/2x11 white paper, or these instructions. I followed the second set of instructions and simply traced my girls' silhouettes on to white copy paper. I felt I had more control over my size this way, however this may not work with a small toddler. They tend to get squirmy.
The size of my silhouette fit inside a piece of 8 1/2x11 copy paper turned portrait position. Cut out your silhouette carrefully, getting all the features.


Place your silhouette on your piece of felt, landscape position. This position allowed me to get all of my silhouette's features. Place the nose as close to the edge as you can without touching it. Pin your silhouette to your felt well. Cut your silhouette carefully. I found it was easier to move the felt rather than move the scissors. This gives you a more seamless edge. Unpin the paper silhouette from the felt.


If you need to use your scraps to complete your silhouette's pony tail, as I did, pin your scraps to the silhouette and cut them out as well. The piecing won't show when they are glued down together. Set your silhouette aside.

Now, remove the glass and cardboard from your frame. You do not need the glass, so put that in the recycling bin.


Spread your fabric our flat. You may need to iron it so there are no wrinkles or creases in the fabric. Take the cardboard from the frame and place your cardboard on top of the fabric and trim your fabric about an inch and a half out from the cardboard's edge.


Glue one long edge of the fabric to the back of the cardboard, then gently stretch the fabric across the front and glue the other long edge to the opposing side of the cardboard. Now glue the two short edges of the fabric to the short edges of the cardboard.


Flip your fabric covered cardboard over and place your silhouette on the fabric. Arrange it so that it is a little above center. Now glue your silhouette down on to the fabric. Place glue along all of the edges and press firmly to get a good bond. If you had to use scraps to complete your silhouette, join the edges of the scrap piece to the silhouette piece first. Allow that to set, before you glue the other edges. This will insure an invisible joint between both pieces of fabric.


Now to get creative. Use one piece of ribbon to make a bow. You can tie a bow or make a bunch of loops. I just made loops and sort of squished the center together. Once you have a bow you are happy with, glue it down at the base of the ponytail on your silhouette. Now take your second piece of ribbon and fold it in half and glue it down on top of your bow and let the tails hang past the cardboard's edge. You can add a third piece of ribbon to make more tails if you wish.


It is starting to look really cute, right? So, take your silhouette and insert it into the frame and secure it. Make sure your ribbon's tails hang out of the frame. You are finished!


Hang up your bow holder and put your little girl's bows all over it! My girls adore their faces and the fact that they can see ALL of their bows at a glance.

Do you like it? Really like it? Do you think you will make one?

Would you make one, say. . . if I GAVE you the supplies? So here is my first give-away. Included is a 11x14 frame (sans glass), 8x10 piece of felt, fabric, and two spools of ribbon, each approx. 1 yard.
Leave the best comment on this post and it could all be yours!
I will announce the winner next Tuesday. Happy Tuesday to you!!!

Heaps of love,
Shannon
  

Tuesday, March 8, 2011

Here's to you! - *Summer Blooms Tote Bag Giveaway* - Closed


Happy blogiversary to me!  And here's to you for reading me for a whole year!!
I really have enjoyed blogging this past year - I had a lot of changes, and I feel like blogging really gave my life some consistency.  Those changes will continue this year, and I am looking forward to the steadiness of blogging and the fun of sewing and crafting with you!  Sooo, my dear readers, to thank you - I have made a tote bag that one of you will win!  

The giveaway will run from 3/8/11-3/15/11.  That's one week.  You have to check back to see if you won. 
I will not email you...check back.  I will announce the winner on Wednesday March 16th.  
Mark your calender.  Set an alarm on your phone.
So here's how you can enter:

1.  Leave a comment on any post for the next week.  
Old posts, new posts, doesn't matter.  The more comments you leave, the more times you are entered to win.  Plus, I love to hear your thoughts :)

2.  Become a follower of Sew Homegrown, if you are not one already. 
(please don't become a follower just for the giveaway - only if you really want to follow this blog)

3.  Blog about this giveaway, tweet, or post it on Facebook - leave me a comment here letting me know you did that. 

Three different ways to enter!

Here's a little more information about the bag - 
I made it using Heather Ross's Pattern for her  "Everything Tote".  
The outside is a soft, but sturdy linen and the inside is lined with silk plaid.  It has one pocket with two sections - one that will fit the Iphone or Smartphone.  

I reinforced the handle attachment point, because I really like to stuff my tote bags.  It would be the perfect bag for a Farmer's Market on a spring morning, or the fabric store on a Saturday afternoon.  

Good luck my sweet readers - I'm off to CA today - 
beautiful sunshine here I come!
xoxo
jessica

Thursday, January 27, 2011

*Inspired Homemaking* - giveaways!

Here are some fun giveaways you can enter today.  Good luck!

Jessica at Insanely Crafty has made this adorable
Box of Chocolates garland to give away. 
(ends 1/28)


Head on over to Flamingo Toes and Twelve Crafts Til Christmas-
They are hosting Blog Spa week with tons of giveaways and fun tutorials to pamper yourself!


Life is Beautiful is giving away an apron
from Sugar and Spice Aprons.

Lastly - Prudent Baby always has some type of giveaway going.  
If you don't know about their contest to WIN A SEWING MACHINE!! go check it out!!

have a great thursday!
jessica

Wednesday, January 19, 2011

*Giveaway* Winner!!!!

out of 159 comments left this week the "kick up your heels" apron goes to....
(chosen by Random.org)
comment 139 - Jenn!!!
She left a comment on the Anthropologie Bolster Tutorial saying:

jenn said..
it's perfect! where did you get your fabrics?
The main fabric is by Duralee 180964H/Caribbean 339. It's a home decor fabric. I'm not sure what the other one is - it was just in my stash :)  The winner has 5 days to contact me with their information, otherwise the apron will go to another lucky commenter.  Thanks to everyone for participating!!!
have a great day!
jessica

Sunday, January 9, 2011

*Giveaway* - Kick up your heels apron

So this weekend we've pretty much been snowed in.  What better to do with my time than make a little apron to give away to you, my fantastic readers?  

All you have to do is leave a comment (or 2 or 3 or 4) on any post for the next week 
and you will be entered to win this little number!  
(giveaway ends Monday January 17th)

Good luck and thanks for reading Sew Homegrown!

happy monday,
jessica

update: this giveaway is a Prizey Editor Pick!

Monday, December 6, 2010

What I've been up to...

...a friend of a friend has a daughter who watches Phineas and Ferb.  She loves the little stuffed animal, Ducky Momo, and my friend (who apparently has great faith in my abilities) told her that she thought I could make one as they don't sell them anywhere.  So I was given a challenge.  I've never made a stuffed animal before and didn't have a pattern - just a few pictures:
 
Weird looking thing right?  
Well here is the product of my labor:
So if you know anyone who would like one, the price is $40 -you can send me an email.
On a separate note it's snowing non-stop here, which is crazy.  
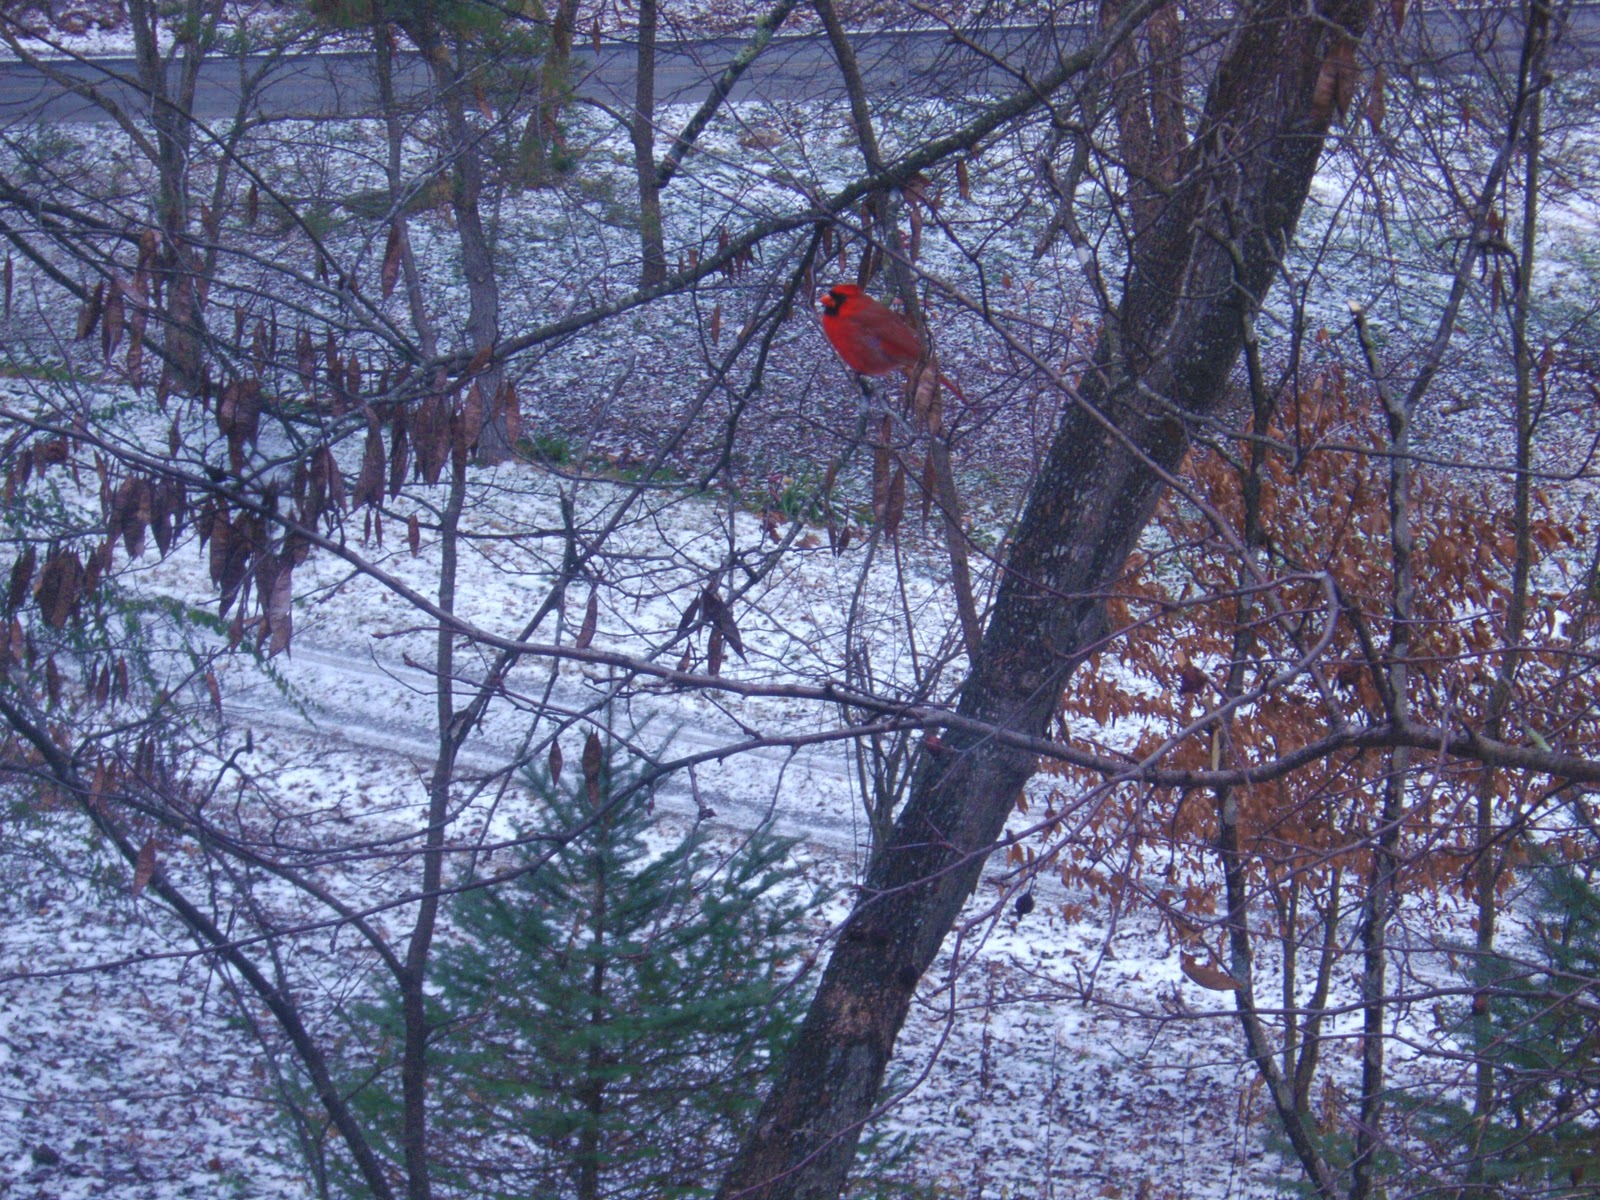
 This poor little red bird keeps flying into my kitchen window and I don't know what to do for him.
  Any suggestions?

This is our front yard.

I never thought I would say "put your hood up it's snowing" as we were leaving a store, but that's what happened today!  AND I wanted to remind everyone that you have until TOMORROW at MIDNIGHT to upload pics of your Sew Homegrown projects to the Flickr group to be entered to win one of those adorable Bridget and Lucy Ruffle Joy Kits!!
xo, jessica

Monday, November 29, 2010

Giveaway Reminder!


Just a little reminder that you have about ONE WEEK to finish your projects to be entered in the Bridget & Lucy giveaway!  You can make any project from this blog, including recipes, upload a picture of it to the Flickr pool and you will be entered to win!  Here are a few of the submissions so far:


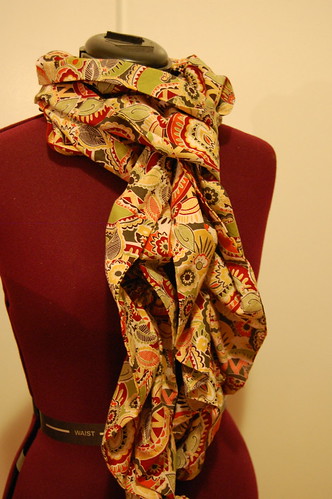
scarf

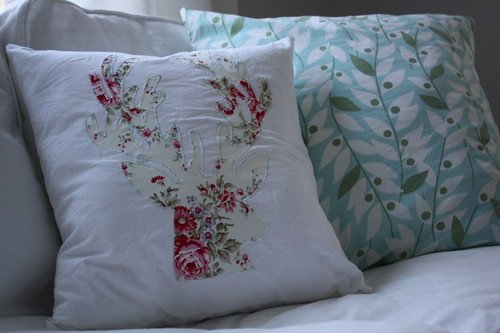
IMG_9473

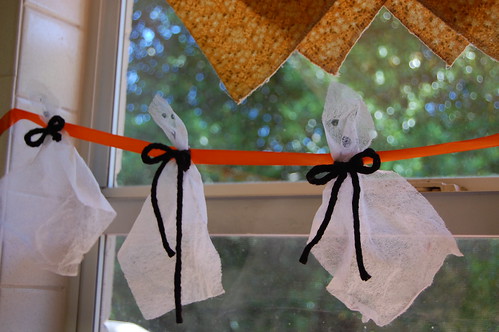
family 427

Great work!
Keep it up!
jessica

Monday, November 15, 2010

Warm Heart Rice Bag


Today I have a really fun tutorial for a project that would make a lovely gift.  
A "Warm Heart" therapeutic rice bag!  
Everyone has aches and pains now and then - they can heat this colorful rice bag in the microwave 
and melt their tension away.  
This is also a great project to use up some scraps.
Here's what you'll need:
Several scraps of fabric
1 piece of muslin-type fabric 13"x8"
1 piece of fabric for the back (I used cozy flannel) 13"x8"
1 bag of rice
whole cloves, cinnamon
sewing machine
thread
scissors
iron
yard stick
water soluble pen
needle

Step 1:  Cut out all of your fabric.
the back and front rectangles,
cut out two hearts the same size,
then several strips of fabric of varying widths -
such as 1/2", 1", 1 1/2", 2"

Step 2:  Make the heart applique.  Place the two hearts right sides together and pin.


Sew around the entire heart using a 3/8" seam.  Do NOT leave an opening.
Clip the fabric to the seam (but not through the seam) around the curves of the heart.

Step 3:  Lift up the back of the heart and make a slit in it ( be SURE not to catch the front side).  Enlarge the hole so that you can flip the heart right sides out.

Flip it, use a pencil to push out all the edges, then press it well.

Step 4: Moving along to the top.  Cut the top rectangle into 4 equal rectangles.  You are going to strip-piece these four rectangles.  Here's how you do that.
Lay one strip, right side up on the rectangle, lining up the edges.

Lay the second strip, right side down on top of the first strip, lining up their edge (the one closest to you).

Sew a 1/4" seam along that edge.

Open the top strip, so it is right side up, and press well.

Repeat that process with the next strip:

Press.  Then trim off the excess until your rectangle is nice and neat.

Great!  One block is done.

Repeat this process with the other three blocks.  I made two of mine horizontal and two vertical.

Step 5:  Lay the bottom left rectangle, right side down, on the top left rectangle.
Sew these together, using a 3/8" seam.  Press the seam open.

Repeat with the other two rectangles.

Step 6:  Lay these two right sides together and sew the center seam.  Press seams.

Step 7:  Pin the heart in the center of the top.

Step 8:  The most "invisible" way to attach this is using a slip-stitch.  If you are nervous about that, you can always blanket or zig-zag stitch it on your machine.  I will explain it the best that I can, but if you are still confused you can go here for a video tutorial.
Starting under the fabric, bring the needle up through the top and the heart.

Pull the needle and thread through.  Now, with the thread "on top", work the needle under the heart a little bit.  Push it through the fabric top, then back up - barely catching the edge of the heart.


Step 9:  Once you have the heart attached, lay the top right sides together with the back
and pin around 3 sides - leaving one end open.

Stitch around those sides, flip it and then press.

Step 10:  Mix the rice (not cooked) with whole cloves and cinnamon.

Pour it into the bag - I used almost an entire 32 oz bag.  Work the rice to the closed end of the bag.
Turn the raw edges of the open end in and press.  Top-stitch it closed.

That's it! 
xoxo
jessica

You may also enjoy...

Related Posts Plugin for WordPress, Blogger...