Friday, July 2, 2010

Let Freedom Ring

Tomorrow is the big parade in downtown Altamont, and my Grandma is Lady Liberty in a float.  So today we set about constructing her costume.  Here is her crown: 

isn't she pretty?  
This crown was pretty simple to make, and would be even easier if you didn't cover it in fabric.  We covered it so that it would match the rest of the costume, but if I had to do it again, I would paint it, and add some glitter ;)  If you would like to make one you will need a sturdy paper plate, poster board, glue, scissors, stapler, ribbon, and fabric (or paint/glitter).  Cut into the bottom of a paper plate, and cut out the center - about 3? inches from the edge of the plate.  Next cut out 7 long, skinny triangles out of construction paper.  Tape those in place on the right side of the plate(the side you would eat on.  The wrong side is what will be showing.)  

If you choose to paint, now is the time - and you may want to glue the triangles on so that they will be more secure.  If you are doing fabric, you're crazy - just kidding :) lay the fabric over the crown.  Glue the fabric to the inner circle of the crown, and to each of the tips on the triangles.  (This is basically just to hold it in place).

  Next cut around the crown leaving about 1/2" all around.  

Now turn  the crown over and glue the rest of the fabric in place by wrapping it around to the back of the crown.  After I did that, I reinforced the triangles (on the back side) with long toothpicks (popsicle sticks would work too).  Then I colored those little rectangles around the crown with a permanent marker.  

Ta da!  Happy Fourth!

Thursday, July 1, 2010

Flowers for the Fourth

One of my favorite memories growing up was going to my Grandma's home in TN and dyeing Queen Anne's Lace flowers.  If these grow where you live this is a great project to do with your little ones.  You can dye them any color - but red, white, and blue is especially festive this time of year.  Simply pick your flowers, then fill 3 vases with water.  Add red food coloring to one, blue food coloring to the another, and leave the third vase filled with plain water. Arrange your flowers in the vases.  As they soak up the water, they will soak up the dye - resulting in a magical change of colors.  (okay so I waited too late to pick these and we left for holiday this morning so I don't have a pic of them dyed - but it will happen -try it and see:)

Wednesday, June 30, 2010

SALE

Just had to give you this link - amazingly cute fabric ( including Anna Maria Horner) on huge sale!!!

Firecracker Hairbow


As you know, the Fourth is this weekend - and Charlotte had NOTHING patriotic to wear.  If you find yourself in the same dilemma, you can take 30 minutes and make this cutie little hairbow to get everyone in the American Spirit.  

You will need:
Red ribbon
Blue ribbon
White ribbon
Something for the middle
(button, gemstone, bead, etc.)
A hair clip
Hot glue gun and hot glue
Scissors

Plug in your hot glue gun and let it heat up.  
Begin with the red ribbon.  Drape it over your hand, like this.
Wrap it around 8-10 times.

Cut the ribbon from the spool.  
Cut a small piece of red ribbon - about 3-4 inches.  Lay it flat.  
On top of that small piece, lay your loop of ribbon.

Tie the small piece around the loop, into a knot.  

Snip the loops of both sides, so that the ribbon fans out.
Repeat this process to make another red loop, a white loop, and then a blue loop -
I made the blue loop smaller.

Lay one of the red pieces on a table.  Put a dot of glue in the center.  Lay the other red piece on top, perpendicular to the first one - making a cross.  Next glue the white piece on, and then the blue piece.

When the glue has dried, tie a piece of ribbon around the entire thing, to help hold it together.  Now put a dot of glue in the center of the blue piece and glue on your centerpiece.
Lastly, glue the large "firecracker" to a clip.

More Fourth of July fun coming tomorrow!
jessica

Monday, June 28, 2010

Step Up and Bloom


I had mentioned before, when we were staying with that lovely family from church, that I would share with you how to make this adorable little ottoman (or stepping-stool however you want to use it).  You are not going to believe this - it is made out of four 46oz juice cans.  

It is incredibly sturdy - I can stand on it, and it is just the right size to put in front of the bathroom sink so Charlotte can wash her hands. 
If you would like to make it, here is what you will need:
1 1/2 yards of fabric
(either all the same, or coordinating)
Scissors
Fabric Pen
Scrap of batting
Polyfil Stuffing
4 empty and washed 46oz juice cans 
Open your cans like this, 
so that the tops and bottoms will still be intact.
Sewing Machine and thread
Yard stick
Pins

Step 1:  Lay out the fabric you will use for the top and bottom pieces.  Put the juice cans on the fabric like this - forming a little flower design. 
Step 2:  Using your fabric pen, trace around 1/2" larger than the outside edge of the "flower".
Step 3:  Cut out 3 flowers - two out of fabric, and one out of batting.
Step 4:  Lay out the fabric you will use for the side.  Cut a strip 8" x 38".
Step 5:  Pin the strip to the bottom flower - right sides together.
Step 6:  Stitch around the edge, using 1/2" seam - leave a 3 inch opening.  In the corners of the flower, you will need to take a little pleat.
Step 7:  Repeat steps 5 and 6 with the top flower  (only this time you will be sewing the top flower fabric AND the batting as one piece) - be sure that the openings on the top and bottom are at the same place - this is where you will slip the cans in.
Step 8:  Clip the fabric at the curves.  Turn it right sides out.
Step 9:  Slip the cans in one at a time.  Stuff the top with the stuffing to your desired poofy-ness.
Step 10:  Hand whip the opening closed.

Enjoy!

Saturday, June 26, 2010

Blueberries

Today we went exploring on a mountain near our new home. 
And by exploring , I mean climbing straight up and up and up for an hour and a half.  
It was really gorgeous scenery though
(but I don't think my legs are going to be able to move tomorrow).  
Along the path we found tons of wild blueberries...and being the nature children we are, 
we stopped to pick them.  
They were really sweet and tasty - Charlotte put more in her mouth than in the cup :)  
We collected about 1 Cup of blueberries. 
I used them tonight in a dessert, which I will tell you about next week.  
All-in-all it was a lovely summery day - hope yours was too!

Friday, June 25, 2010

30 Minute Head Scarf


So because of the big move, my daughter has pulled out the majority of her hair.  It seems to be a coping mechanism that some kids use and it's totally normal.  However, it is very difficult to find cute ways to do her hair...there is a limit to how you can comb 3 strands of long hair to cover an entire head.  Plus it looks way unbalanced because her bangs are still thick, but the back is all thin and patchy.  (I  know I was spoiled because she had SO much hair at such a young age...) Anyway, this is one of my solutions (if you have any more please let me know). 

This literally took 30 minutes last night.  Here we go.
You will need a scrap of fabric that can be folded on the bias, some ribbon, thread, and sewing machine.
Fold the fabric on the bias. 
Measure 16 inches along the fold ( you may need to make it larger if your child is older).  
 Make at mark at 16".  
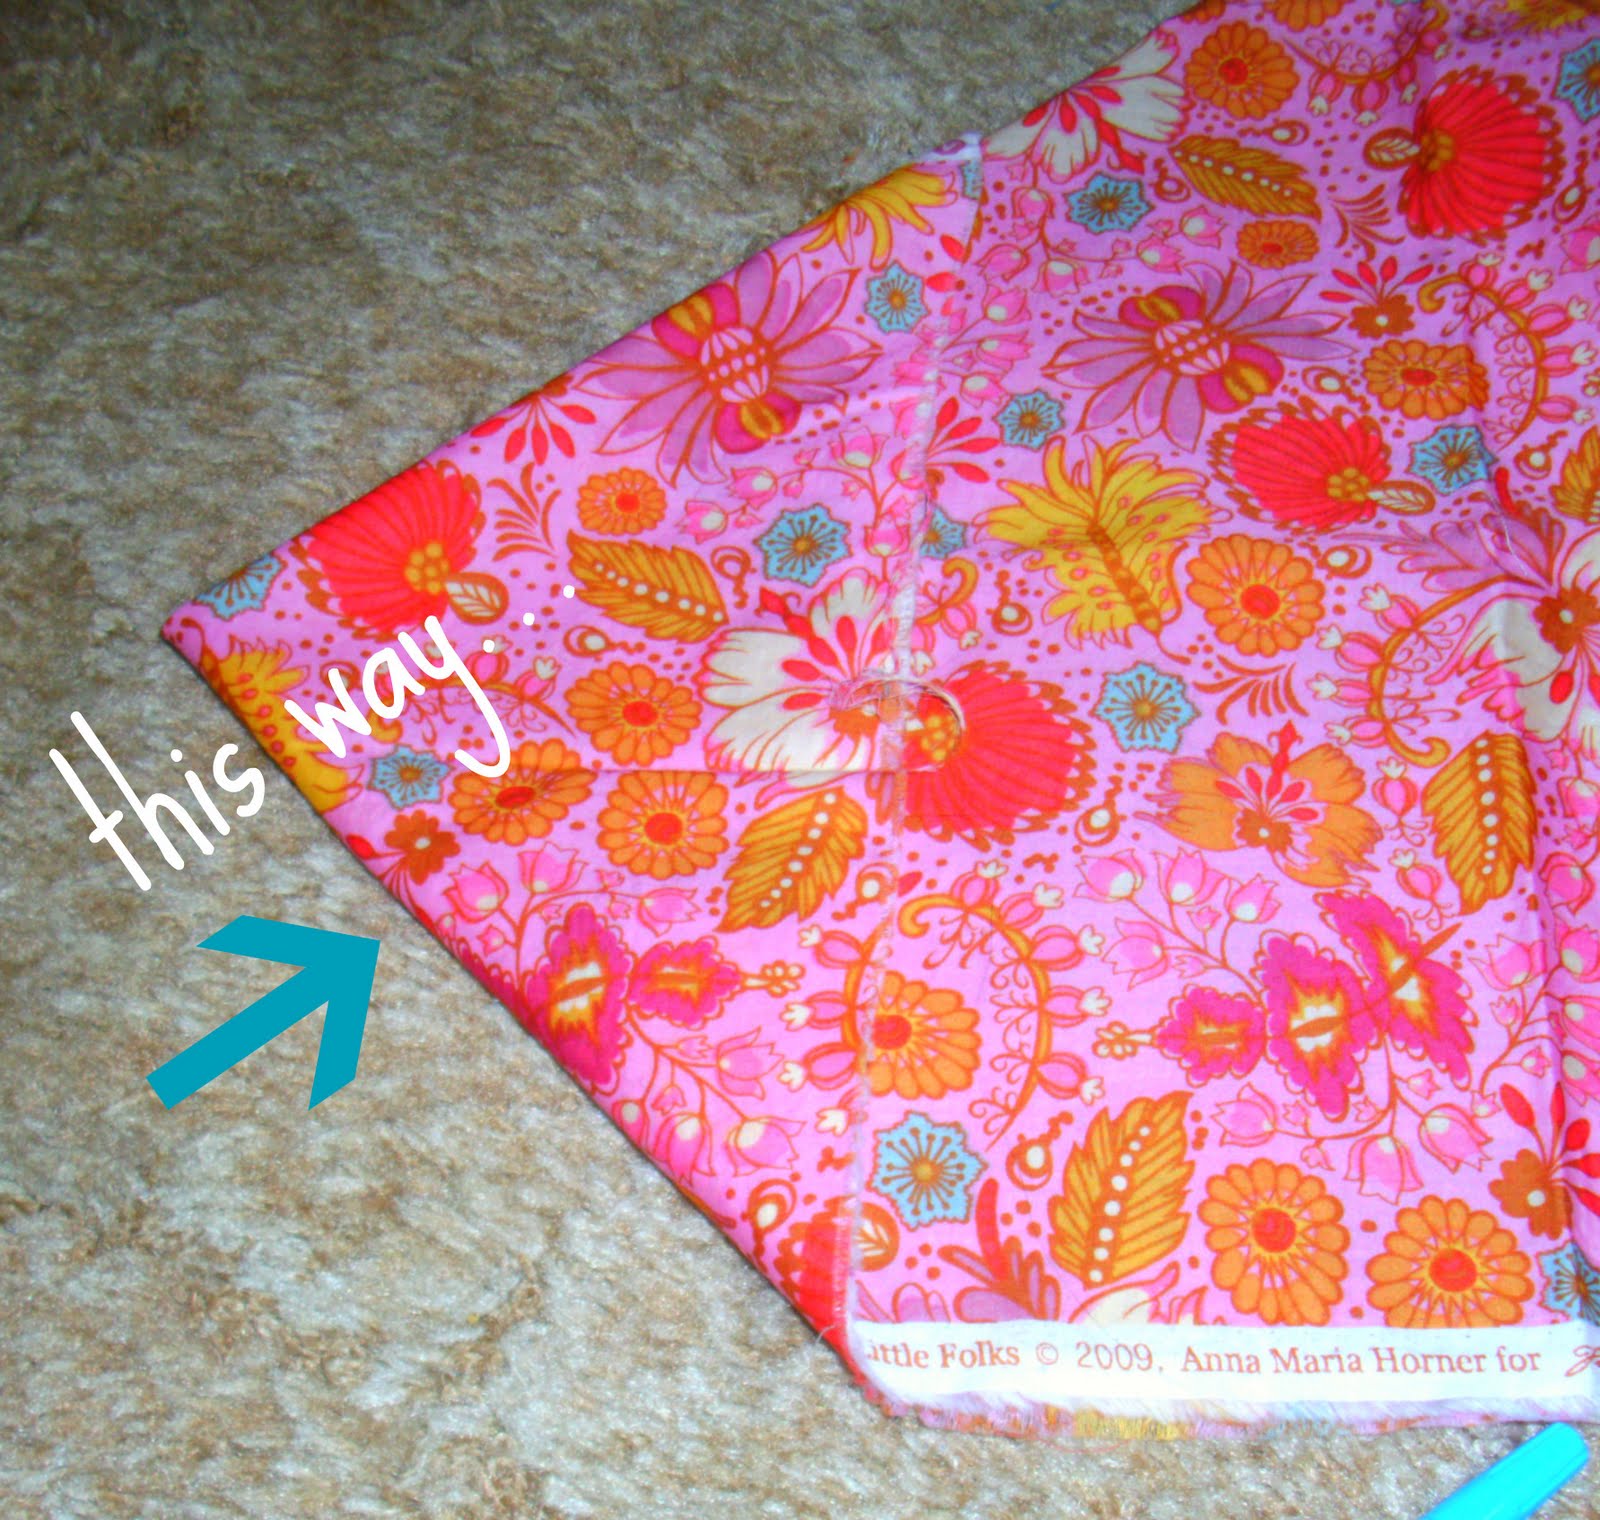
Take the left bottom corner and fold it up to meet the 16" mark - this will help you cut a straight line.  
 Draw a line from the 16" mark down to the selvage.  Cut along that edge.  
Then cut along the fold that is 16" long.  You should have a triangle. 
Zig-zag stitch or surge the two short sides. 
 Lay it flat and pin on a cute piece of ribbon.  
Top-stitch the ribbon along the longest side of your triangle.  Done.

You may also enjoy...

Related Posts Plugin for WordPress, Blogger...