Friday, July 23, 2010

tiny cupcakes make me happy

they are like a little self-contained party, waiting to be popped into your mouth.

Another Week of Recipes

Yes, you can express your love and gratitude now.  You can also send gifts.  I like fabric.
Okay, so the last week of recipes was well received, and I love you so much I made another one for you (and me).  You can download your grocery list here, and the menu is below.  Happy Grocery Shopping!

Meal 1:
Fish Tacos
Fruit
Chips and Salsa

Meal 2:
Fajita Burgers    Black Bean Smash
Peach and Strawberry Crumble

Meal 3:
Bacon Tomato Pasta


Meal 4:
Fried Chicken
Corn on the cob
Buttermilk Biscuits

Meal 5:
Salmon
Zucchini
Smashed Cheesy Cauliflower 
(this recipe is just a loose guideline - I just use milk, butter, and cheese)

Meal 6:
Rice and Beans
Fruit
Blackberry Cobbler

Meal 7:
Chicken and Rice Casserole
Broccoli

Meal 8:
Pizza

Thursday, July 22, 2010

*Guest Post Thursday*- Coupons!

Today I am happy to present a guest post by Tristin over at Spartan Living.  She is here to talk to us about coupons!  I love to use coupons, but I am not very consistent, and I don't know all the right places to look- let's read together shall we?

No Money...No Problems!
I am thrilled to be a guest blogger on Jessica's lovely blog today!  Much like Jessica, I am a stay-at-home mom who tries to live well and eat well without spending a bundle.  One of the ways that I save money for my family is by using coupons--I hope it's something you'll consider, too. 

I used to think that coupons are for suckers who will purchase a product they generally don't buy just for the sake of "saving money” and a company’s way of conning people into trying their new products.  I have learned, however, that coupons can save consumers (yes, even ones like me) money if used correctly. What is correctly? Well, here are a few basic strategies to get the most out of your coupons.

1. Buy the Sunday paper. Not only are there great comics (which I am a sucker for), crossword puzzles, and of course news--it is chock-full of coupons.

2. Only use coupons for items that you actually use, or products that you are not brand-picky about. (For instance, if there's a great deal on dishwasher detergent but it's not the one you typically use--it may be worth trying the brand that you can get a deal on. Why not?)

3. Study the ads for your local store. I am not all about going from store to store in search of a deal, honestly, so I stick to just my favorite store--Publix. I know that they announce the weekly specials on Thursdays. I pull the ads up online and use my coupons in conjunction with the weekly specials.

4. Use printable online coupons. I use coupons.com and smartsource.com. Many grocery store websites offer printable coupons, and surprisingly the Target.com website always has a generous supply of coupons available.

5. Use coupons with your store's promotions. A few weeks ago, Bic Soleil razors (normally $3.99/4-pack) were BOGO at my local grocery store. I happened to have two $2.00 off coupons (you can apply one manufacturer’s coupon per item, regardless of a BOGO sale at your grocery store). So, because the razors were buy one get one free and I had $4 in coupons, I walked away with 2 4-packs of razors for free!

6. Stack those coupons! Stacking coupons is using multiple coupons per each item you purchase. Most stores will allow you to use a manufacturer’s coupon in conjunction with a store coupon—and some will even allow a competitor’s coupon, too! I have saved SO much money this way-I can easily save 50% on “big ticket” items like diapers by stacking coupons.

7. Don't feel like you're being cheap! If you can save money, save it! Think of all the other wonderful things your money can do for you and your family.  People behind you in the grocery line may roll their eyes when they see your stack of coupons, but believe me, when they hear your final total they'll perk up and start asking questions!

Being the skeptic that I am, it took me a long time to come around to using coupons. However, the first time I made out a list and shopped according to the sales at Publix, I saved $29.07! The kicker? I only actually spent $26.51! For a bill that could have added up to $55.58, I paid less than half at the small amount of $26.51--and that was only my first coupon experience!

Recently I spent $22 on $60 worth of groceries! (In this purchase was a $20 case of diapers, too—so for only a little over the cost of the actual diapers I brought SO much more home!) Your savings will increase as you get used to “couponing”.

One bummer about "couponing" is that there are not many coupons for produce or meats, which I would estimate that I generally spend 70% of my grocery money on. However, you can still significantly save on produce and meats by shopping with the specials. If broccoli is on special, incorporate it into your meals for the week. If whole chickens are on sale, roast a chicken! Shop and cook with the specials!  In addition, frequent your local farmer's markets, if they're available. Produce is much cheaper through these venues because of low overhead and minimal mark-up. And as a bonus, you can feel good about supporting the "little man" and your local economy.

Here are some of my favorite coupon websites:

Living rich with coupons
 
Money Saving Mom
 
the Krazy Coupon Lady
 
Have questions?  Need help?  Feel free to email me at tristinthespartan@gmail.com--and don't forget to check out my blog, Spartan Living.
 
the Spartan


Thanks Tristin!  If you would like to guest post here on Thursdays, send me an email at sewhomegrown@hotmail.com.  Go save money girls!  jessica

Wednesday, July 21, 2010

Boxes into Butterflies


Well it is time for me to begin planning miss Charlotte's birthday party.  
I asked her for any ideas - she said "RED!
Hmmmmmmm.....
Then I was so inspired by this post on Hostess with the Mostess - 
Woodland Fairies Birthday Party
Perfect - it incorporates the color RED (toadstools), and works great at
our new home as our front yard looks like this.  
 We literally live in a magical woodland.  
So I am doing a younger version of that party.  
"Enchanted Forest"
In the party above, they used fairies, which I love,
but Charlotte isn't quite ready for that. 
She's only turning two.  We are doing woodland creatures -
butterflies, deer, owls, ladybugs, etc.
So as I am  making things for her party, I will be posting lots of DIY's so that you can do them with me :)
Today I made some outdoor decorations for the big day.
( I will have the invitation DIY soon as a guest post on another blog - I'll let you know when)
but today....Whimsical Butterflies!
These would also be cute at a baby shower I think.
Made from diaper boxes (have a lot of those?), fabric scraps (and those?),
and various trim scraps.

 Want to make them with me? Here we go:
Print out the butterfly shape here.
Cut six pieces - 
Three right wings - 1 cardboard, 1 front fabric, 
1 back fabric(be sure to flip the pattern so it will fit to the back)
Three left wings - same as above.
 Next, decoupage the front fabric to the front wings.
Let it dry.  Go do good house-wifely things like fold laundry.
Then reward yourself by coming back and decoupaging the back fabric to the back-side of the wings.
Let it dry.  Go do more house-wifely things like eat chocolate and talk on the phone.
Then reward yourself for being so patient...time to finish the butterfly!
Gather some light-weight beads and some good ole' pipe cleaner.
Heat up your hot glue gun.
Slide the beads onto the pipe cleaner, and scoot them down to the end (double the end over so they don't fall off.  Loop the top piece like this and tuck it back inside the top bead.
Snip at the top of the loop to make your antennae.  
Next you need to trim the edges of your butterfly with something.  I used bias tape on the pink one, and a yarn scrap for the red/yellow one. 
Honestly the yarn was WAY easier to hot glue, so I would go with something like that.
Hot glue your trim on.
Now hot glue the two pieces together, down the middle. 
Hold them at whatever angle you want until the glue has dried (only about a minute).
Now hot glue the little body to the middle of the wings - really squirt a lot of glue in there.
When that has dried, carefully turn it over and hot glue the clothes pin to the back.  This will enable you to clip it all kinds of places like....a tree, a basket, a tablecloth, a garland or banner...etc.
Now go decorate your life with butterflies!  

More birthday fun to come.

Tuesday, July 20, 2010

Tea Tree Essential Oil

Good Morning!  I haven't done a post on essential oils in a while, so I figured it was time.

Last time I spoke with you about Lavender, which is the most versatile oil to own.  Next to it would probably be Tea Tree.

Grown primarily in Australia, it has been used for 1000s of years by the aboriginal people.  It is a very strong healing oil, because it is active against bacteria, fungi, and viruses.  It also has a very strong odor - kind of like hay.  You can buy some online here.  They also probably have it at your local health foods store.


How to use it:

I use tea tree oil when it seems one of us is getting sick.  Like any other natural remedy, it is important to use it as soon as you feel symptoms.  You can add 3-4 drops of tea tree to about a Tablespoon of carrier oil.  Massage this on your chest and neck - especially around the glands under your jaw bone.  Do this three times a day, when you feel you are getting sick.

My second favorite way to use tea tree is on the skin.  It is very effective in killing minor infections (like around your finger/toe nails), and also in reducing breakouts on your face (which we know are caused by bacteria, which it kills).  To treat these symptoms,  you can get a q-tip and put a drop or two on the tip - apply directly to your skin at the site of infection/blemish.

For more information I suggest this book:
The Illustrated Encyclopedia of Essential Oils: The Complete Guide to the Use of Oils in Aromatherapy & Herbalism
For more information online you can go here.
Have a naturally healthy day!
jessica


Friday, July 16, 2010

My favorite...

Little Girl:
Talking on a corn cob phone

Song:
Folding Chair - Regina Spektor
Far 

Food:
Greek Yogurt with local Wild Mountain Honey

Accomplishment:
Homemade (that's right!) FRIED Chicken

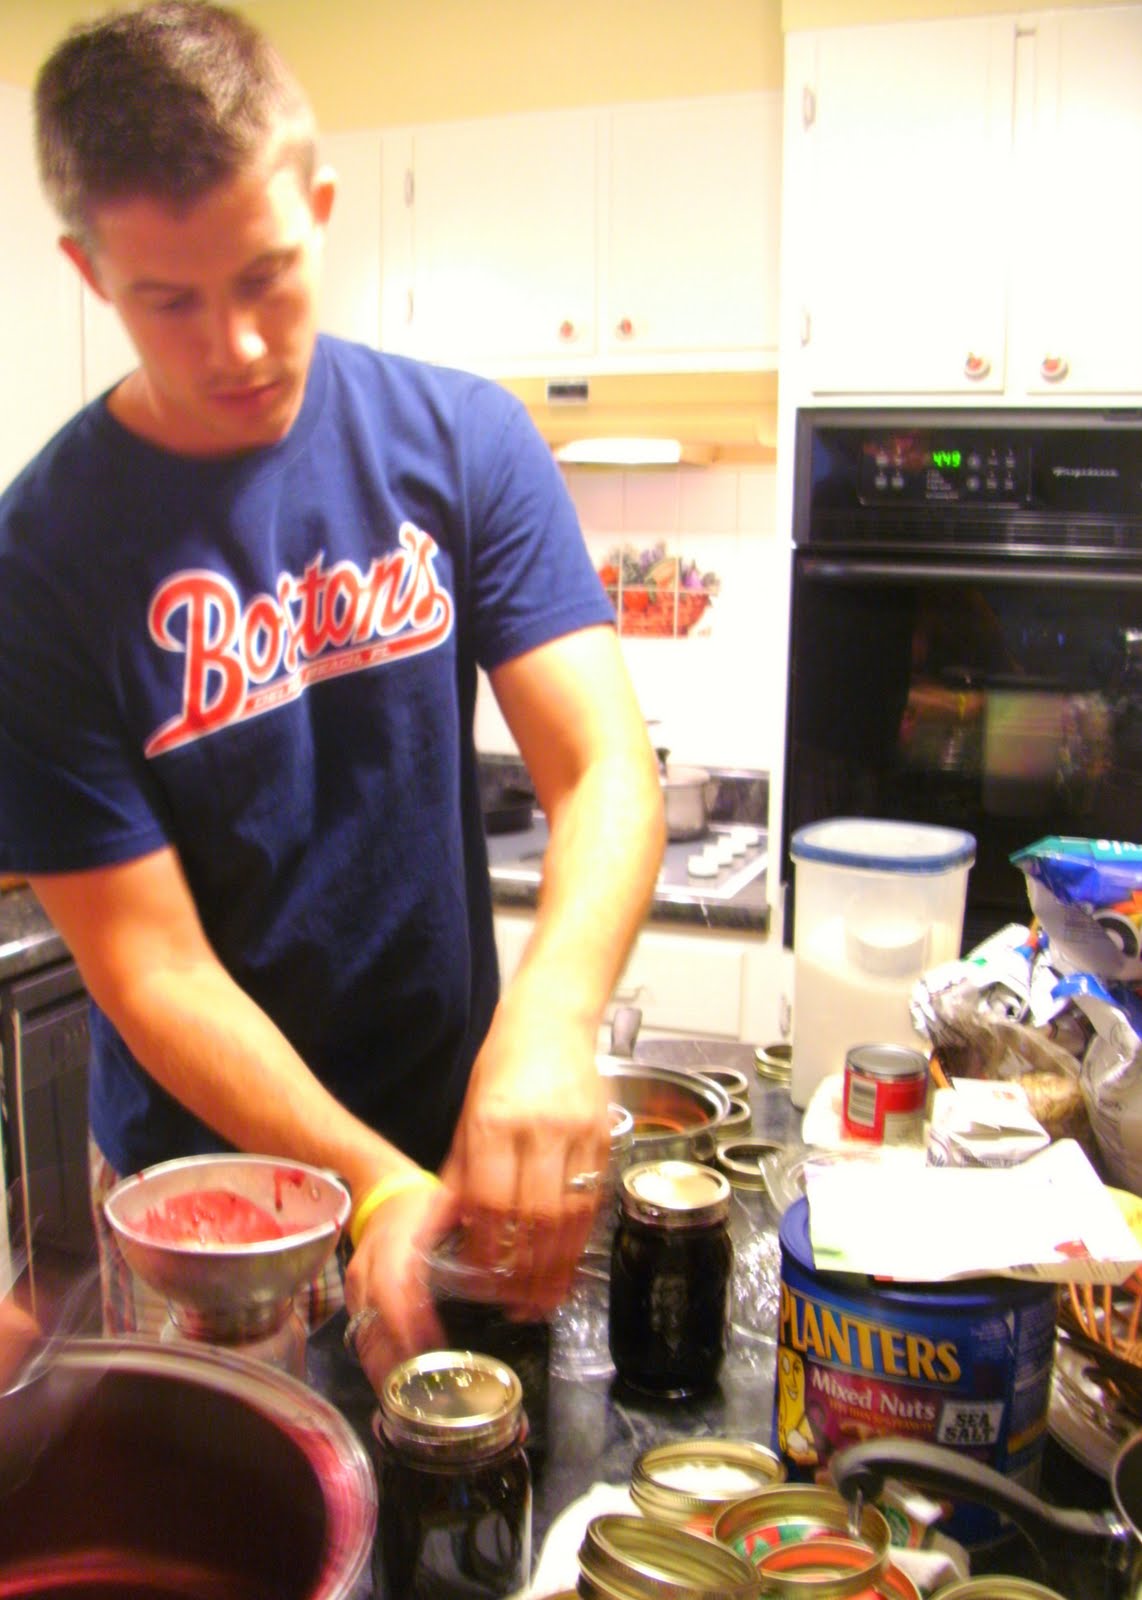
Man:
Makes blackberry jam 

and yummy cakes from scratch

Fabric:
Feedsack VC. 1930 by Windham Fabrics
(I'm using it to make the shirt in the background)
happy friday!
jessica

Thursday, July 15, 2010

*NEW* Guest Post Thursdays!!!

From now on .... hopefully...I will be having a guest post every Thursday!  If you would like to send a post please send it to sewhomegrown@hotmail.com with pics and text. Please be sure your post falls under the category of homemaking.  So - christening our Guest Post Thursdays is my dear friend Heather from Florida.  Now I'll preface this by saying this girl does everything.  She is an amazing woman - AND - does it with four kids in tow.  This is her tutorial for canning tomatoes - a wonderful summer project!
Enjoy- and thanks Heather!
Let’s go  A-Quart-in’
Yes! Even us married girls can do this!  Now is the season for all those YUMMY fruits and veggies!  If you don’t grow your own yummy stuff, go and find a U-Pick place in your area or visit your local farmers market- there are sooo many of summer’s ripe treasures hiding there, YOU just have to go exploring!
Right down the road a mile or so, I found my ripe treasure… a U-Pick tomato farm!  At $5 a 5 gallon bucket… yes, I do grow my own, but there was no way to pass that by!  So, after picking 8 buckets FULL here is what I decided to do: 

Gather all Quart size jars (you can find these at Wal-Mart or pretty much any grocery store)
Wash them in the dishwasher to sterilize (keep them in there till ready for use)
Gather:
lemon juice, sharp knife, large pot, canner (you can use your largest pot)
   tomatoes, 2 or 3 pans, large bowl, & slotted spoon.
Wash Tomatoes well in lukewarm water.  
Bring a Large pot ¾ full of water to a rolling boil.  Put 5 or 6 tomatoes in boiling water to loosen their skins for about a minute or so, you can see the skins loosen and start to crack.
Scoop the tomatoes out with a slotted spoon and place them in a large bowl of ice cold water, this will make the tomatoes easier to handle and the skins easier to peel off.
Peel the skins off and place the bare tomato in a pan, you want to save any juice that may leak out. 
Preserve those vital vitamins!
Slice however you prefer your canned tomatoes, I quarter mine.  
Fill your bowl or pan with those sliced babies, isn’t that pretty?!
Next get a small saucepan ½ full of water, yes I am the glass is ½ full kind of gal!
Put your lids in the water and bring to a boil. 
Now is the time to bring out those sterilized jars from the dishwasher, I do 3 to 4 at a time.
While waiting for those lids its time to put all those lovelies into the jar.  
Leave about ½ inch space at the top, add 2 Tablespoons of lemon juice to each jar. 
 Rescue the lids from the boiling water, place on top of the jars.  Then take your band and screw it on tight, you want to make sure the lid seals securely to the jar.
Isn’t Quarting fun???!  
Now, if you have a canner fill it ¾ full of water and bring to a rolling boil.  Take 7 quarts and lower them in gently, place lid on and allow to boil for 45 min.  
This is called a water bath, it will help build a vacuum to seal the jar.  
Since tomatoes are an acidic fruit they do not have to be pressure canned.  With that being said, if you do not have a canner, you can use your largest pot and fill it ¾ full.  Bring to a boil and gently lay your jar/jars in (water needs to cover completely).  Boil for 45 minutes.
Once they are “processed” lay towels on your counter, double thickness.  The jars will be HOT, remove from water with a hot pad and let  cool on your counter. 
After 10 maybe 20 minutes you will hear pops and pings… 
you are being serenaded by the beautiful “quarting song”!  
Feel free to join in because you have successfully quarted tomatoes!!!  It is a Beautiful thing!
Once the jars are COMPLETELY cooled, carefully remove bands.  Wash in soapy water.  Dry.  Place in storage till you are ready to create a dazzling meal!

Now are you wondering what I did with 40 gallons of tomatoes…??? 
I went a quartin’ and processed 70 jars of those beauties!  
I also made some wonderful sun dried tomatoes just by slicing the tomato into thirds and placing in a food dehydrator for 24 hours!  

We also ate our fill of Italian salad:  2 tomatoes diced, 2 basil leaves, ½” slice of mozzarella cubed.  
Toss together with a pinch of Mediterranean Sea salt and enjoy!
I hope you go and find your ripe treasure this summer, there is nothing sweeter
than Quartin’ with your sweet loved ones!

P.s.-  Peaches are exactly the same process just add ½ cup honey to each jar and can for 25 min. !!!

OXOOX~
Heather from Asmus Acres

You may also enjoy...

Related Posts Plugin for WordPress, Blogger...