Friday, June 15, 2012

Simple Wrap-Around Mermaid Tail


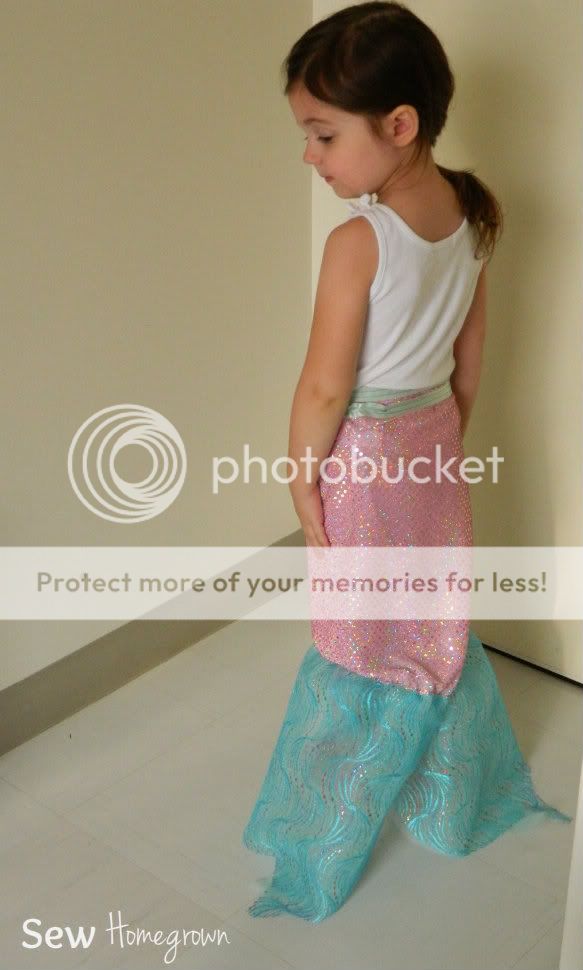
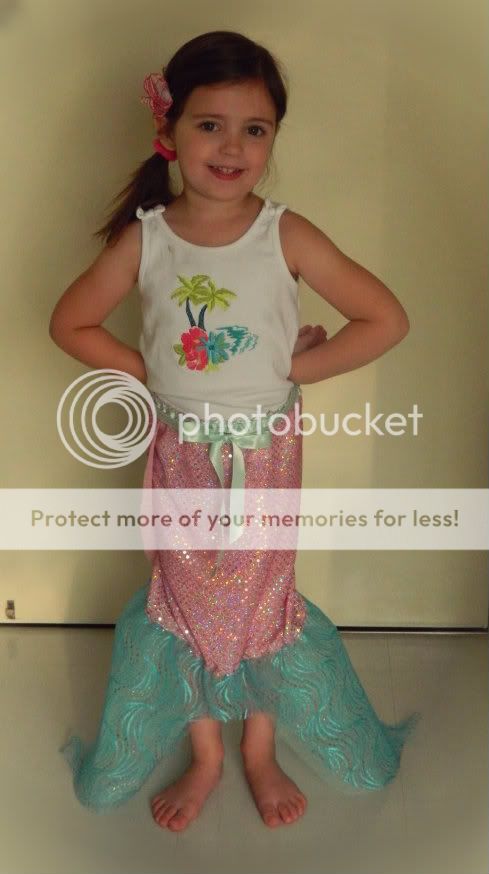
Well, in about two months my sweet little Charlotte will be turning 4!  and for her birthday this year she has requested a mermaid party. So in preparation I decided to make her this skirt - so I could perfect the pattern and make some more for her party friends.  and let me tell you - it has been a hit so far (despite the fact that I keep dressing her up in it and making her pose so that I can get just the right picture - confessions of a blogging mom :)  I wanted the skirt to be simple, but actually look like a mermaid tail, and I think I achieved those goals.  If you can cut two rectangles, draw a squiggly line, and sew a straight line you can make this! 

It took me about 2 hours to make this skirt, but that was with taking pictures and chasing two kids.  I'm pretty sure if you had an hour to yourself you could get it done.  Here's what you need to turn your little gal into the prettiest mermaid on the block... (in the reef? in the ocean? whatever - she'll look adorable)!


Supplies:
1/2 yard of glitzy glam fabric
1/2 yard stiff tulle
1/2 yard of fancy lace/tulle
1 1/2 yards of ribbon
elastic thread
basic sewing tools
(these instructions are for a size 4t - you may need to adjust for other sizes)
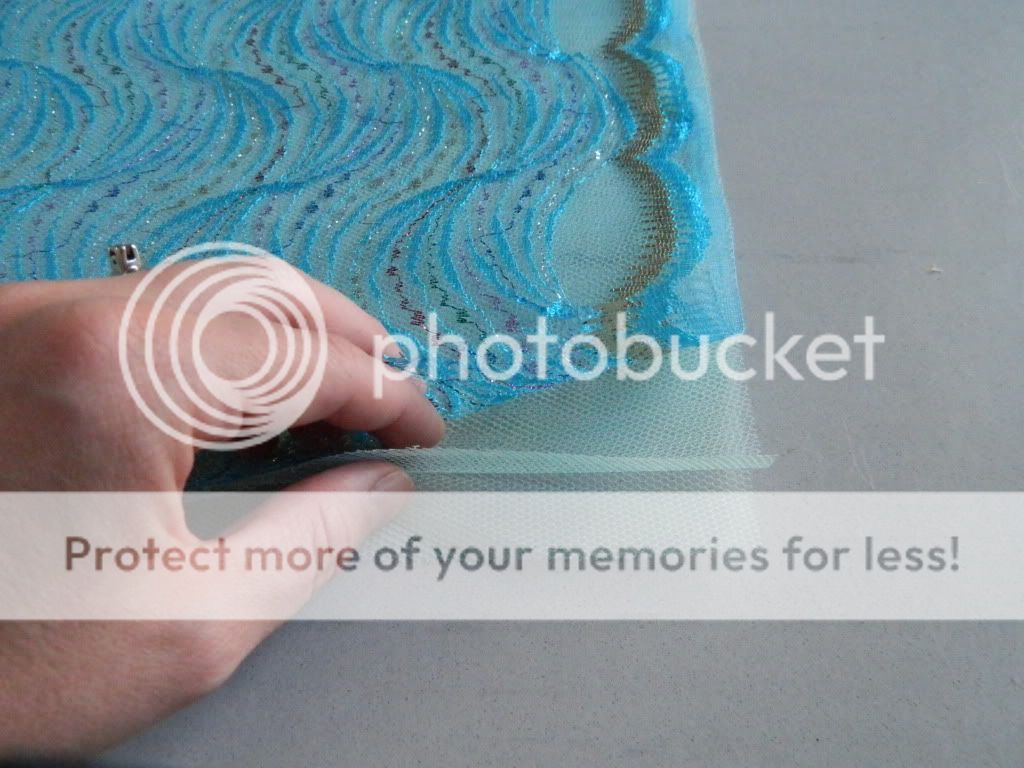
Step 1: 
Lay out the fabrics - laying the lace on top of the tulle, making it 3 layers.

Step 2:  
Cut the pink* fabric so that it is 15 1/2" x 31"(or 1 1/2 times the size of your child's waist).
(*obviously you do not have to use pink fabric)
Cut the tulle/lace to 15"x31".  
Now you should have two rectangles.

Step 3:
If you'd like, you can do this step with a piece of lining, making a pattern, then use that to cut out your tulle/lace.
Fold the lace/tulle in half.  At the top left(where the fold is) measure 3" from the top and place a pin, then measure 2" from the fold and place a pin.  Find the center of the fabric and place a pin at the bottom center.  At the other edge, also measure 3" from the top and 2" from the side.  (the colors of my pins correspond to the colors of those words).
Now draw a squiggly line from the 2" pin on the left down to the pin in the center bottom.  Just try to mimic what I did there.  
Cut along your line.
Now fold the fabric in half again, from left to right.  
Use the cut you already made as a pattern for the other side.


When you open it up, it should look like this:

Step 4:
Pin the tulle/lace to the *pink fabric, with the *pink fabric on top of the tulle/lace.
Use lots pins - this stuff tends to scoot all around.

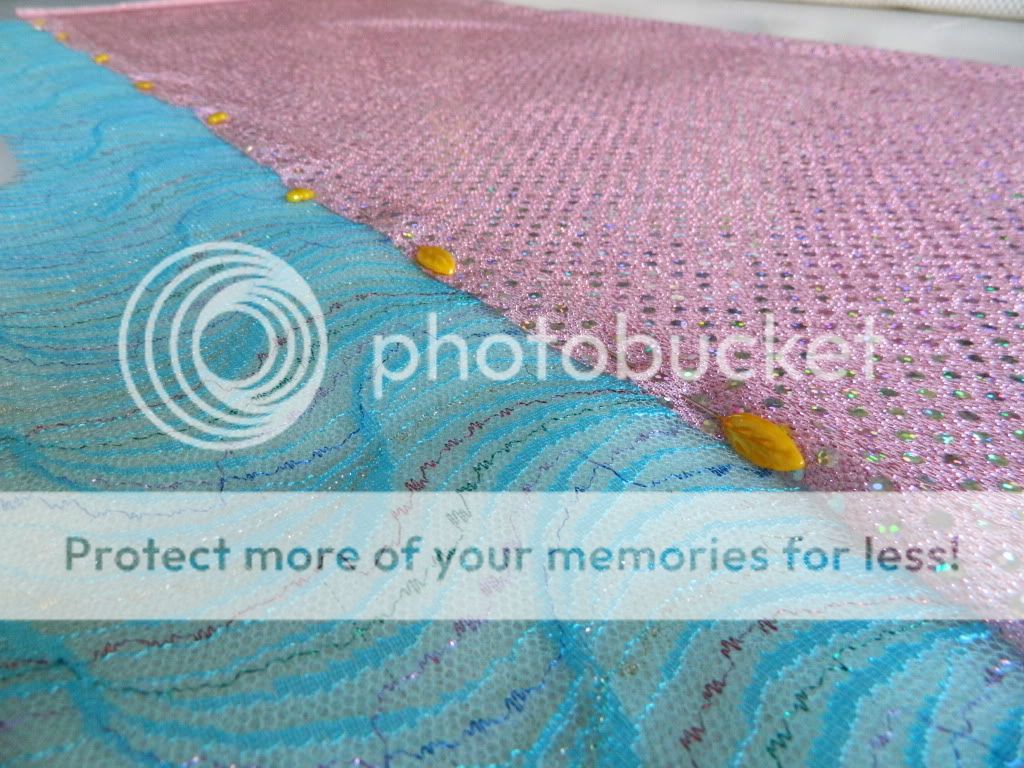
Put the elastic thread onto your bobbin.  Be SURE to back stitch a little when you start and finish otherwise your elastic thread will pull right out.  Stitch the *pink to the tulle/lace.  Then, set your iron on the steam setting - hold the iron over the elastic thread (don't touch the fabric it will burn!) - steam the thread to make it gather.

Step 5:
Pin the ribbon along the top of the *pink fabric.


Put regular thread onto your bobbin, then sew the ribbon in place.


Step 6:
Lastly, try the skirt on your little mermaid and snip a hole in one side so you can feed the ribbon through in order to wrap it around.
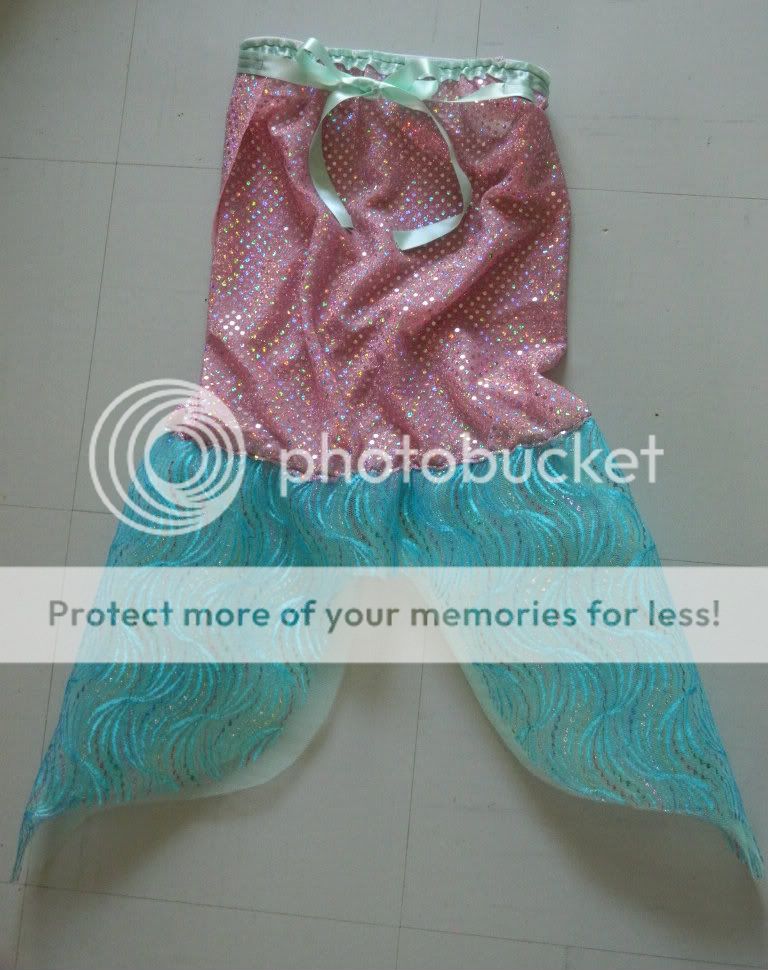
That's it!!
Happy sewing!
xoxo
jessica

Tuesday, June 12, 2012

Cinnamon Bun Grain Free Muffins

I've been trying lots of grain free recipes lately, and this is easily the best one yet! 
I thought I'd link to the recipe from Joyful Abode, in case you'd like to give it a try.


I didn't make the frosting, because I was out of cream cheese - I just brushed some melted butter on top, once they were out of the oven, then sprinkled the cinnamon sugar on.  
The consistency was great.
I definitely suggest giving them a try, even if you're not worried about eating grain free - they're low carb if you'd like to think of them that way ;)
xoxo
jessica

Thursday, June 7, 2012

Glorious Gluten Free Pizza


We love pizza.  
My husband, especially, considers himself a serious pizza connoisseur.  
So when we discovered that gluten makes him sick, the thing he hated giving up the most was pizza.  We have tried many g-free pizzas at restaurants, but haven't found one that tops my hubby's homemade. The only restaurant that makes a really good g-free pizza is Cootie Browns in Johnson City, TN. They make a wood fired g-free crust that is great and they make many other wonderful things to eat as well.  You should go if you are ever there....but that's a loooong way from Japan ;)
We've been on a once-a-week, two year quest to make the perfect gluten free pizza - and (with his helper Charlotte) he's finally done it! The great thing is that it's not very hard, you just need to know some tricks about working with gluten free dough, and today the pizza-master himself is here to share them with you.
Ingredients:
 Bob's Red Mill Gluten Free Pizza Crust Mix (makes 2 crusts)
Contadina Pizza Sauce
Cheeses
Pepperoni
Toppings of choice
(Ours often include any of the following: bacon, sausage, black olives, banana peppers, jalapeno peppers, fresh basil, grilled pineapples (our new favorite))

Preheat the oven to 425.
Cook with pizza stones (ours are from Pampered Chef)
Put the pizza stones in the oven to preheat.
We love our pizza stones, but they have taken time to learn how to use them best.
Some things to remember are: season them, never wash them with soap, and the uglier they look, the better they work.

Tips for working with g-free crust
We have tried multiple g-free pizza crusts and Bob's is definitely the best.
  • The first thing you need to know is that working with this crust is nothing like working with regular pizza dough. Gluten-filled pizza dough is very stretchy and rises a lot.  Gluten-free dough spreads out with a consistency closer to thick mashed potatoes and rises very little. I know that does not sound great, but trust me, this makes a great crust (You can't tell it is g-free, it tastes like a normal crust). 
  • Second - you must follow the all the directions on the package when mixing and always combine the ingredients in a mixer using the dough hook. I have tried it by hand and it never turns out the same. We usually add extra Italian seasonings or cheese to the crusts to enhance the flavor. 
  • Third - After letting it rise, work the dough into crusts.  You must put olive oil on your hands (the package says water, but it does not work as well as EVOO, with regular dough you would use flour) or it will stick to you when you spread it. When you are ready to spread the crust, take out the preheated stones (or pans) and sprinkle them with cornmeal. This keep the crusts from sticking to the stones. I usually use my hands and then a rolling pin to spread it nice and thin, it will bake firm even if it is nearly paper thin. 
  • Now you have two options for cooking the crust, oven or grill. If using the oven, heat the crusts for 10 min or until slightly golden brown on top. I always make the crusts on the preheated stones no matter if I use the oven or grill - it will lightly start to bake the bottom of the crust. For the grill, I make sure it is hot, then I can slide the crust right off of the stones with a little shake. It takes about one minute or less per side to grill the crusts. 

  • Then top the crusts on the stones with pizza sauce, you can make your own or try other brands, but we love Contadina brand. Add your cheeses: we use a mix of shredded mozzarella, romano, and usually cheddar (or whatever other cheese we have on hand). We then add cubes of asiago. Then add whatever toppings you use. You can put it back on the grill on top of the stones or back in the oven on the stones. I would put it on the stones or other baking sheet on the grill so you don't have to worry about burning your crust. Cook pizza until cheese bubbles and starts to brown in some places. Cut into slices and enjoy. 
We always eat our pizza on a blanket on the floor, picnic-style, in our living room while watching a nature show or one of Charlotte's shows. It is our Sunday night ritual.
Charlotte has been helping me make the pizzas for a long time. She helps me add all the ingredients in the crust (she especially loves cracking the eggs), she spreads the crusts (and knows not to touch the hot stones), she spreads the sauce over the crusts, and then adds the cheese and toppings. She always manages to test out the cheese and toppings to make sure they are safe for human consumption ;) We love our Sunday nights. 

Here's a review of the tips:
1) Mix dough using electric mixer and dough hook
2) Put EVOO on hands to work with dough
3) Preheat pizza stones or pans
4) Sprinkle stones or pans with cornmeal
5) Cook dough before adding toppings or sauce

 Hope this will inspire you to try and make a great pizza at home!
Happy pizza-making!
xoxo
jessica

You may also enjoy...

Related Posts Plugin for WordPress, Blogger...