Monday, January 31, 2011

Coffee for two {year olds} - Starbucks Felt Playset


When we jump in the car, Charlotte usually asks if we are going to the fabric store or Starbucks.  If you know me at all, you know I love Starbucks.  I've worked there, and I go there frequently.  So I was browsing all of the cute felt food out in blogland and I was trying to think of something Charlotte could relate to.  This is what came to mind! I decided field research was necessary, so I hopped in the car and headed off to sbux.  I ordered a coffee and a pastry, and I snagged an extra cup sleeve. Then I came home - all hyped up on caffeine and sugar, and whipped up these little beauties.  Here's the tutorial if you would like to make some!
You will need:
white felt
dark brown felt
light brown felt
pink felt
coffee sleeves
sbux pastry bag
needle and thread
polyfill
sewing machine
pins
scissors

Step 1:  Cut out the pieces for the cups.
2 Dark brown circles - 3" in diameter
2 white circles - 2 1/2" in diameter
2 white pieces - bottom measuring 7 1/2" and the top measuring 9 1/2" inches
draw diagonal lines connecting the bottom to the top.

Step 2:  Now cut out your doughnut pieces.  The starbucks lid makes a perfect circle to trace for these.  You need two light brown, and two dark brown.  Then cut out a lazy, squiggly shape to make the icing.  One out of pink, and one out of dark brown.  

I am mimicking Starbucks's mini doughnuts:

Step 3:  Pin the icing on one of the circles.  Topstitch it on. about 1/8" in from the edge of the icing.

Place the other circle on top (right sides together) and stitch around the edge, leaving about an inch open for turning and stuffing.  Stuff it with stuffing.

Step 4:  Using a needle and matching thread, hand stitch it closed.  Then hand stitch the circle shape in the middle.  I didn't want to actually cut out a circle, because if you look at the Starbucks ones, the icing sinks down in the hole and covers it.
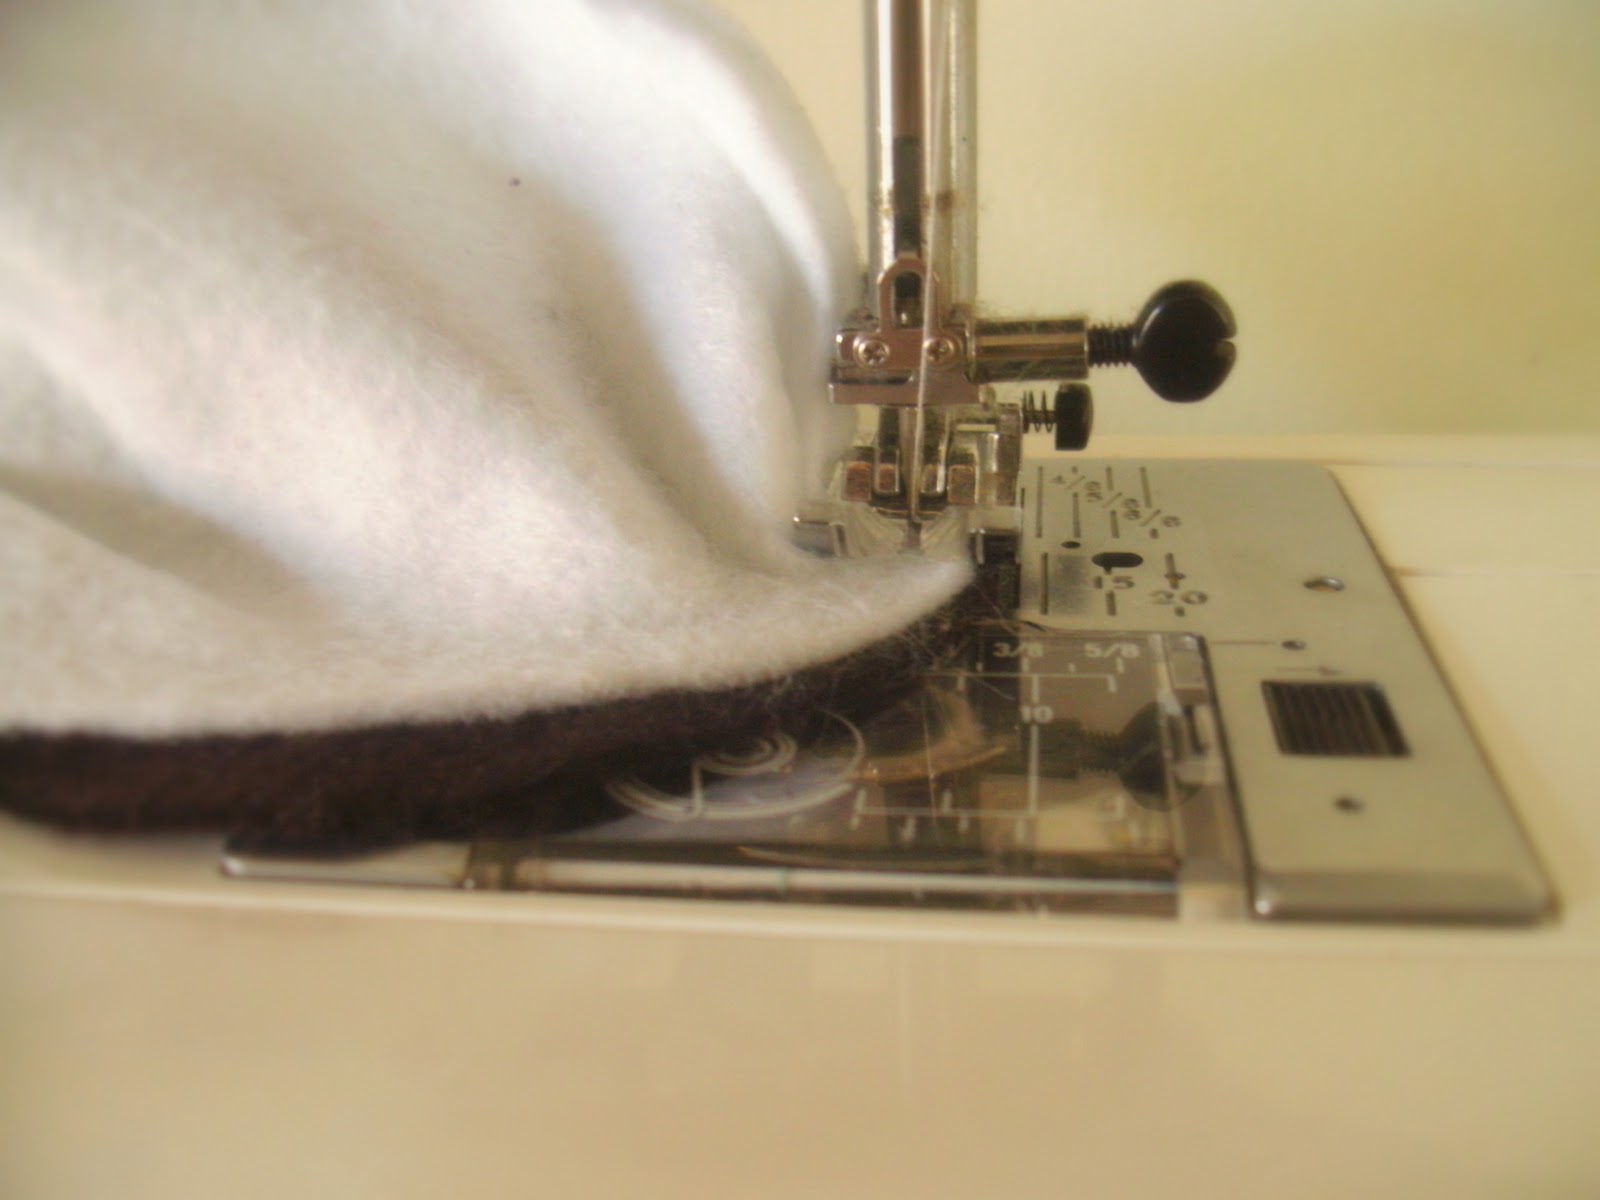
 Step 4:  Make the cups.  Start with the large cup piece.  Sew along the sideseam.

Pin the white circle to the bottom of the cup(smaller opening), and sew all the way around.

Now pin the brown circle on the top and sew around, leaving about an inch open for turning and stuffing.

Flip it right sides out.  I poured some lentils in first to weight the bottom.  
You don't want your coffee cups tipping over!
Then I stuffed it full of stuffing.  
I slipped the sleeves on first so that I knew I would get it stuffed the right amount.

Then just hand whip the opening, and you are ready for a coffee date!

Have fun!  and if you make this little project, or any other from this blog, don't forget to upload a pic to the Flickr pool!
AND if you make a Valentine's craft or food item - please join our Linky Party - click over there on the right side bar!  Have a great day.
jessica


Saturday, January 29, 2011

Sew Homegrown's Linky Valentine's Party!!

Hey!  I'm so excited to host my very first linky party.  
Here's how it works:
If you've made a valentine-themed project, load the link and a thumbnail 
using the linky tool and join the party!
Then, grab this button and put it on your site to send others over for the fun!


TITLE NAME

Can't wait to see what you've made!
xoxo,
jessica

Friday, January 28, 2011

DIY SpringTablecloth


...so I'm a little (actually a lot) embarrassed to show the before picture to you - here I am writing a blog about homemaking, and I have a huge stash of fabric just waiting to be sewn, and this is the sad sad condition my kitchen table finds itself.
 (someone please tell me their kitchen table looks worse than mine....) 
A half piece of torn fabric tossed over the top.
  Really?  I know I can do better than that.  
Here's the thing - tablecloths are kind of boring to make(could also be translated easy!)...just a big rectangle.  BUT they do have a big impact, and obviously I NEED one.
(sidenote- this tablecloth turned out to be not boring at all to make...and it was a little more complicated than I thought it would be :) 
So I went to my fav source of inspiration: Anthropologie.
I found this little beauty.
Now mine ended up looking nothing like that - but I did piece it in a similar way.

Here's how it turned out:

What?  you think that looks much better?  Well, you must have good taste.  
Oh - and you would like to make one for your kitchen table?  
Well, you're in luck - here's the Tutorial!

I started by drawing this sketch with all the measurements for my table.


Once you have made your measurements, you will need to figure out how much fabric you need.  I used home decor fabric so it was 54"-60" wide.  That is really nice when you are making something so large.  But if you want to use cotton, just piece it.  
I used 1/2 yard of the "plaid"
2/3 yard of the zig zag
2 yards of the green 
you will also need:
water soluble pen
yard stick
sewing machine and thread
iron
scissors

Step 1:  Cut your fabrics.  I cut the center rectangle at 19"x55"
the two side rectangles at 11"x55"

the width borders(top and bottom of the tablecloth) at 11"x39"
the length borders(the side of the tablecloth) at 11"x65"

(you will probably have to piece it to get 65".  
I cut 2 pieces at 11" x45" and pieced them with a 2 cuts of 11" x 21")

Step 2:  Pin the two side rectangles to the center rectangle right sides together.  
 Sew together using 1/2" seam.

Step 3:  Press the seams open.
Step 4:  Press the width border pieces in half, wrong sides together.  

Pin the raw edge to the right side, raw edge of the tablecloth 
(it's the top and bottom of the tablecloth, if that helps you)

Sew together using 1/2" seam.  Press seams.

Step 5:  Repeat that process with the two side border pieces.  You will need to turn under and stitch the two ends of each long piece to make a nice finished edge.  Press well.  

That's it!  Okay, let's look again - 
Before:

After:


YAY!  Makes me happy every time I look at it!
Hope you have a great weekend!  
Check back soon because coming up next is a fun Valentine's Linky Party - my first!
-jessica

Thursday, January 27, 2011

*Inspired Homemaking* - giveaways!

Here are some fun giveaways you can enter today.  Good luck!

Jessica at Insanely Crafty has made this adorable
Box of Chocolates garland to give away. 
(ends 1/28)


Head on over to Flamingo Toes and Twelve Crafts Til Christmas-
They are hosting Blog Spa week with tons of giveaways and fun tutorials to pamper yourself!


Life is Beautiful is giving away an apron
from Sugar and Spice Aprons.

Lastly - Prudent Baby always has some type of giveaway going.  
If you don't know about their contest to WIN A SEWING MACHINE!! go check it out!!

have a great thursday!
jessica

Wednesday, January 26, 2011

When I'm starting to feel sick...

...here are the preventative measures I take to keep a cold at bay. 

1.  Drink more fluids.  I try to drink more water, juice, and herbal tea.  I love this kid's Cold Care Tea - I use 2 bags per cup to make it a little stronger.
 
2.  Up my local honey intake.  Local honey is important because the bees have gathered pollen from all the plants indigenous to your area.  The allergens in honey are delivered to your body in manageable doses - helping you to build up an immunity to them.  I try to eat wild local honey once a day, but when I am starting to feel ill I up my intake.

3.  Netti Pot.  I've only recently started using this - at the recommendation of my sister.  It is very effective though - removing irritating allergens and soothing inflammation in your nasal passages. 

4.  Essential Oils:  I use my Adult Cold and Flu Rescue (which I finally listed in my Etsy shop). 

It has a combination of Lavender, Tea Tree, Eucalyptus, and Peppermint essential oils.  These oils are antiviral, antimicrobial, decongestant, and anti-inflammatory.  I roll it on my lymph glands on my neck, and on my wrists 3x a day.  Inhaling deeply after application. 
So far, I don't feel any worse than yesterday(when my symptoms first presented) - hopefully that means this thing will be short-lived.  (although I do feel like I am writing this post in a fog - hope you can understand my watery-eyed, sleepy-brain self).  I'm off to take a nap.  Stay well and warm!
jessica

Tuesday, January 25, 2011

Healthy, Colorful Dinner

This is the type of meal I enjoy cooking.  
It comes together quickly and looks pretty.  
 Bonus: it is super healthy!

MENU:
Pan-seared Wild Salmon
Mashed Sweet Potatoes
Broiled Asparagus
Tip:  Walmart sells a bag of frozen Wild Salmon (better for you than farmed Salmon) for only $5.00!


Here are some of the vitamins in this meal:
Salmon:  Omega 3's - help with brain function, heart health, cholesterol, and many many other things.  Vitamin D, lots of good protein, and B vitamins.

Sweet Potatoes: high in vitamin A, C, and fiber. 
( I peel and slice mine, then boil them until tender, drain, then mash them up and add some butter)

Broiled Asparagus: high in vitamin K, folate, vitamin C, A, and B vitamins.
( I cut off the tough ends, and put them in a dish.  Drizzle with olive oil and salt and pepper.  Then broil them for 7-10 minutes - checking often so they don't burn)

(Charlotte loves it too!)

So give this meal a try sometime.  You're body (and your tastebuds) will thank you!
jessica

Monday, January 24, 2011

Baby Boy Valentine Onesie: Bear Hugs

Hey there!  I know I neglect the boy department a lot on this blog.  Sorry about that - but a friend of mine just had a little boy, and I decided to make this little valentine onesie for him (L this is for little A :).

Perhaps I can make a few more things for him and increase the number of "boy-themed" projects.  This onesie was inspired by one at Janie and Jack - but it's pretty different so I didn't feel a need to share that pic.  If you want to see theirs click here.
Here's what you'll need to make this little onesie:
  • onesie
  • brown felt (light and dark)
  • red felt
  • embroidery floss
  • sewing machine and brown thread
  • scissors
  • water soluble pen
  • needle
  • the bear pattern ( download here or draw your own)
Step 1:  Print the pattern and cut out the bear, bear nose, and heart.

Step 2:  Thread a needle with brown embroidery floss.  Hand stitch the eyes (just make little knots) and the nose onto the bear.  Switch to red embroidery floss and hand stitch the heart onto the bear.

Step 3:  Pin the bear to the onesie.  Topstitch around the edge of the bear - using brown thread.

Step 4:  Cut a small rectangle out of the red felt.  Write "bear hugs" on it using the water soluble pen.  Embroider over your letters.

Step 5:  Pin the rectangle to the onesie under the bear.  Hand stitch it on - using the same floss that you used for the "bear hugs" text.
That's it!  Give your little man a big bear hug!

NOW - the winner of the "Kick up your heels" apron did not contact me within the allotted time so a new winner has been picked via random.org

****The new winner of the apron is....
LeFebvre Momma

congratulations!  You have 5 days to contact me (use the "contact me" form on the right sidebar) and send me your information.  Hope everyone had a great weekend!
jessica

Friday, January 21, 2011

DIY Cupcakes and Roses - Valentine T


This is a fast project (hour or less) with impressive results!  
Inspired by this shirt from Baby Gap:

Here's what you will need:
1 solid t-shirt or turtleneck (I got mine at Wal-mart for $2.00)
Scrap pink fabric
red thread (sulky preferred because it adds a little bit of shine)
batting scraps
sewing machine

Step 1: Cut out the bottom of the cupcake.  
To make the cupcake liner shape, I measured 3" for the bottom and 4" for the top 
- cut 2 pieces of pink, and 1 piece of batting.
sketch a few lines on one piece of the pink - to imitate the folds of a liner.

Step 2:  Sandwich the batting in between the two pieces of pink.  
Sew along the lines you drew like this:

When you're finished it will look like this:

Step 3:  Pin it to the top layer of the shirt
topstitch around the perimeter of the cupcake - be sure to only sew through the top layer of the shirt!

Step 4:  Now it's time to make the rosettes that comprise the cupcake icing.  Find 5 strips of pink fabric (about 1 1/2" wide) - I used some light pink and some medium pink because that is what I had.

Step 5:  You can  make the rosettes anyway you like - hand sew them or machine sew them.  
I chose to machine sew them 
- it gives it a little different look, but I was feeling too lazy to get out the needle and thread :)
If you want to machine sew them, start a little spiral:
and sew back and forth across it - kind of in a little star pattern.
You will need to make 1 large rosette and 4 small ones.

Step 6:  When you have made all 5, pin them onto the front of the shirt,
then top stitch them on - follow the lines created when you made the rosettes.

Step 7:  Cut out 2 little hearts out of pink fabric, and 1 little heart out of batting. 
Sandwich the batting in between the 2 hearts. 
 Pin it to the shirt:
Top stitch around the edge of the heart.

Put it on your little sweetie and give her a kiss!!

have a great weekend!
jessica

You may also enjoy...

Related Posts Plugin for WordPress, Blogger...