Showing posts with label felt. Show all posts

Monday, January 16, 2012

{DIY} A Kokeshi Valentine


Well we've fallen in love over here in Japan with the adorable Kokeshi.  
They are super cute little wooden dolls that come in all shapes and sizes.

That's a great little book about them that you can buy here.
 
So since that's our love right now, I decided to make a Kokeshi Valentine t-shirt for Charlotte this year.  Today I have the free pattern for you in case you'd like to make your own!

The supplies you'll need are:
plain t-shirt
scrap fabric/felt
coordinating threads
needle/embroidery floss
sewing machine
scissors
tear-away stabilizer

Step 1:
 Download the pattern and cut out all the pieces.
Decide on your fabrics and trace the pattern pieces onto the correct fabric. 
Step 2:
If the pattern says cut two, then cut one piece using the right side of the pattern and one using the wrong side of the pattern.

I cut out several different dolls, because I wasn't sure what style I wanted. 

I finally decided on this one:

Step 3:
Draw a face on your Kokeshi head.

Assemble the doll.
Sew the hair onto the head using a straight stitch, then the hair ties using a zig-zag stitch.
Sew the kimono together using a straight stitch down the front and a zig-zag along the bottom to attach the base.
Embroider the face onto the head.


 Step 4:
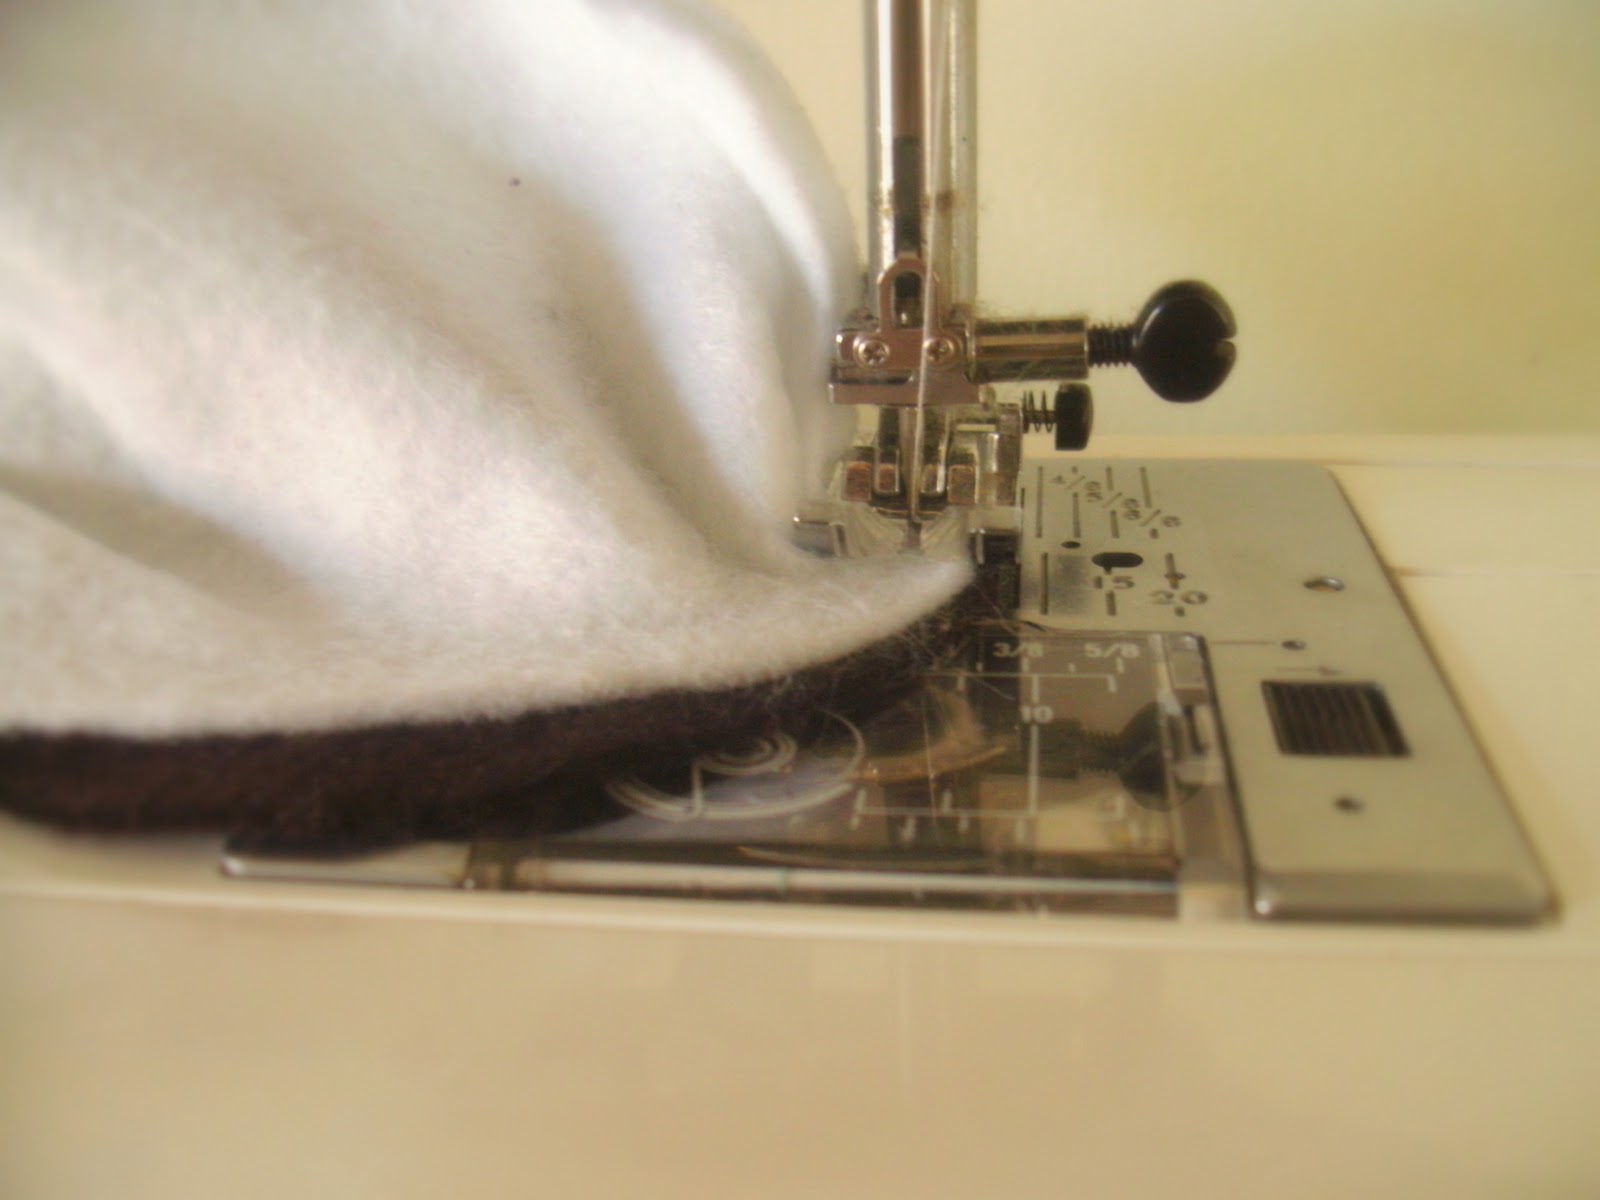
If you have some iron on transfer you could use it to secure the kokeshi onto the t-shirt.  I didn't have any so I just pinned it really well.  Slip the stabilizer into the shirt.  Thread your machine with the correct thread and set your zig-zag stitch to 3.5 width and .5 lenth.  Stitch around the doll, switching thread when needed. Take your time with this - keep the needle down and rotate your shirt often.

Step 5:
The final step is to zig-zag around the heart, and you're all done!
Isn't she so cute smiling at you?

Happy Sewing!
Have fun getting ready for Valentine's Day!
xoxo
jessica

Wednesday, November 23, 2011

{DIY} Felt Trees


I was browsing the Garnet Hill website when I came across these little lovely trees.

Sadly, they are no longer available on the website, so I headed out to Michaels.
 It turns out they're really inexpensive and easy to make.

  
If you didn't use hot glue, they would be a great craft for kids too! 
Here are the supplies:
 my total cost: $3.61
(I already had hot glue at home)

Step 1:  Make the paper cones.  At first I wanted to use styrofoam cones, but they're kind of expensive so I decided to make paper ones.  Roll the paper so it forms a cone and put a dot of glue at the bottom to hold it in place.


Step 2:  Cut off the excess along the edge, then glue the edge closed.

Step 3:  Make the bottom edge even so that it will stand straight.

Cute little trees!

Step 4:   Fold the felt in half width-wise, like a hamburger bun.  Cut from the edge to the fold in an arc, be sure the top of the arc is at the fold.  Cut them about 2 1/2" wide - I was able to get three strips out of one piece of felt.

Step 5:  Keeping them folded, and following the arc, cut a scalloped edge along one side.

Each strip should look like this once you open it.


Step 6: Starting at the bottom of the tree, hot glue the strips to the cone.

If you like, you can cut out a felt star for the top.

And there you go! 
Whimsical felt trees for your mantle or a shelf! 
Happy crafting!
xoxo
jessica

Monday, November 7, 2011

{DIY} Woodland Winter Wreath


This wreath is simple and inexpensive ($20!) to make, yet it really has a great impact.

  
We bought all the supplies from Michaels, and completed it in about 3 hrs.
  
I made all the felt flowers, and mom wrapped the wreath.  I think the secret is to have lots of felt flowers, even though they take a while to complete.  Hope you like it and feel inspired to get started on your holiday wreath!
Happy Monday!
jessica

Wednesday, June 22, 2011

My New Obsession...

...rug making - part 1. 

I am so excited about this I feel like buying an RV and traveling the country convincing everyone to jump on the punch-needle rug-making bandwagon.
In fact...I started another blog called A Lovely Path to devote solely to rugs.


It's not going to be like this one where I post every day - I'll probably only post once a week or so but I feel so excited about this that I really want to spread the news. 
I also want to start a line of patterns (I have grand visions of appearing on Martha Stewart...;) 
Now - this is not a new craft.  In fact it is a very very old one and there are not many people still doing it.  
I'm not sure why because it's awesome!  But it needs some freshening up.  Most of the patterns are not that stylish (at least for my taste), but there is so much potential. 
So I started out making a chevron rug for my kitchen.
 
Here are the supplies I am using:
Amy Oxford's 1/4" Punch Needle
Rug making stand - kindly built by my talented husband

Monk's cloth
Wool strips - which I cut from 100% wool clothes found at thrift stores. 
 I brought the clothes home, cut the linings out and felted them myself by washing in hot water, then drying on high heat.  I then cut them into 1/4" strips using my rotary cutter.  This is a little bit of a process, but I bought an ENTIRE GROCERY CART full of wool clothes for $16.  I have a lot of wool.
Last summer when we first moved up here, we stayed with a couple from our church.  His mother is Amish and had made amazing rugs for their home - I mean they look like they're straight from Anthropologie.  I was smitten.  But he said she hand hooked them, and from what I can tell that takes a really long time....and as much as I wanted to do it, I was kind of dragging my feet.  Well, last week my mom and I were downtown and we wandered into a craft and stitch store.  We stumbled upon these punch needles and were delighted by the store-owner who gave us an impromptu lesson.  She showed me hooking and punching side by side and you COULD NOT tell the difference.  So I came home with the needle and monk's cloth and got to work. It goes so quickly and is a great thing to do while sitting around watching a movie or something. 
Here's how the front looks so far:

Stick around for a full tutorial on the process next week (and hopefully pictures of my finished rug!!)
xoxo
jessica 

Monday, March 7, 2011

I'm the Map! - DIY Dora Map


This isn't really a tutorial - it's an example.  But it's pretty self-explanatory.  You can make one just from looking at the pictures.  I know you can.  SO - Saturday Charlotte and I took Ryan to the airport to fly to California.  I started talking to her about his trip, and about my trip (I'm joining him on Tuesday), and I decided we needed a visual aid.  Well, of course she looooves Dora -so we made a Map!
If you would like to make one too - here is what you will need:

felt: white, blue, black, red, green, and various other colors of your choice
hot glue gun - or fabric glue
cardstock
ribbon
printout of the US (or your country) - just find a pic on Google
printout of whatever states you would like to add - we did Tennessee, Florida, and California
picture of an airplane - either print one you can trace, or just freehand it

I simply cut a large white rectangle to be "the Map", then folded it over and rolled it up - so I could place the Map's face.  I cut out two blue triangles for his eyebrows, two white ovals (one larger than the other) and two black circles (one larger than the other) for the eyes.  Then I looked at a picture of the Map to draw his mouth - a large piece of black felt placed behind the red felt forms the outline.  You also need the little "chin line".  After I had cut out all of those pieces, I hot glued them on.

Then I opened the Map and cut out all of the geographical pieces.  Just hot glued those on too. Then I cut the airplane - one out of felt, one out of cardstock.  I also cut out those little windows - it looked bare without them.  Hot glued all of that together.

Lastly I glued one end of the ribbon to the back of the plane, and one end to the Map (I covered that end with a felt dot to make it look finished - which also turned out to look like the sun).  Ta da!  Charlotte's very own Dora Map to show where Mommy and Daddy are flying off to this week, and where Momma J is coming from to visit her.

Adios mi amigos!
jessica

Tuesday, February 22, 2011

Strawberry Shortclip


I really love making little hairclips.  Especially out of felt.  Charlotte has one for every season.  Two of the clips I've made have been from tutorials on the Purl Bee:  flower barrettes and heart barrettes.
I really love their method of assembling the clip.  
So here's my own clip - using their method!
 Here is what you will need:
a 2" inch square of medium green felt
a 2" square of light green felt
a 3" x 2" rectangle of pink felt
a 3" x 4" rectangle of red felt
light pink embroidery floss
light green embroidery floss
scissors
water soluble pen
needle 
tiny barrette

Step 1:  Cut out the five pieces of felt using the pattern.

Step 2:  Cut a tiny slit into one red piece and slip the barrette through it.

Step 3:  Pin the pink piece to the other red piece.  
Using a water soluble pen, make little markings that imitate the seeds.

Thread a needle with four strands of light pink embroidery floss.  
Sew over your markings, through both layers.  Dab with water to remove markings.

Step 4:  Now lay the top of the strawberry over the back piece - enclosing the top of the clip inside.
Sew around the edge of the strawberry - only through the two red layers.

Step 5:  Lay the light green piece of felt on top of the medium green piece.  Place them at the top of the strawberry and using green embroidery floss, stitch them onto the berry.  When you get to the stem part you will only be sewing through the green pieces.

Here's what the back should look like:

Doesn't that look "sweet"?

have a "berry" good day
*couldn't help it*
jessica


Monday, January 31, 2011

Coffee for two {year olds} - Starbucks Felt Playset


When we jump in the car, Charlotte usually asks if we are going to the fabric store or Starbucks.  If you know me at all, you know I love Starbucks.  I've worked there, and I go there frequently.  So I was browsing all of the cute felt food out in blogland and I was trying to think of something Charlotte could relate to.  This is what came to mind! I decided field research was necessary, so I hopped in the car and headed off to sbux.  I ordered a coffee and a pastry, and I snagged an extra cup sleeve. Then I came home - all hyped up on caffeine and sugar, and whipped up these little beauties.  Here's the tutorial if you would like to make some!
You will need:
white felt
dark brown felt
light brown felt
pink felt
coffee sleeves
sbux pastry bag
needle and thread
polyfill
sewing machine
pins
scissors

Step 1:  Cut out the pieces for the cups.
2 Dark brown circles - 3" in diameter
2 white circles - 2 1/2" in diameter
2 white pieces - bottom measuring 7 1/2" and the top measuring 9 1/2" inches
draw diagonal lines connecting the bottom to the top.

Step 2:  Now cut out your doughnut pieces.  The starbucks lid makes a perfect circle to trace for these.  You need two light brown, and two dark brown.  Then cut out a lazy, squiggly shape to make the icing.  One out of pink, and one out of dark brown.  

I am mimicking Starbucks's mini doughnuts:

Step 3:  Pin the icing on one of the circles.  Topstitch it on. about 1/8" in from the edge of the icing.

Place the other circle on top (right sides together) and stitch around the edge, leaving about an inch open for turning and stuffing.  Stuff it with stuffing.

Step 4:  Using a needle and matching thread, hand stitch it closed.  Then hand stitch the circle shape in the middle.  I didn't want to actually cut out a circle, because if you look at the Starbucks ones, the icing sinks down in the hole and covers it.
 Step 4:  Make the cups.  Start with the large cup piece.  Sew along the sideseam.

Pin the white circle to the bottom of the cup(smaller opening), and sew all the way around.

Now pin the brown circle on the top and sew around, leaving about an inch open for turning and stuffing.

Flip it right sides out.  I poured some lentils in first to weight the bottom.  
You don't want your coffee cups tipping over!
Then I stuffed it full of stuffing.  
I slipped the sleeves on first so that I knew I would get it stuffed the right amount.

Then just hand whip the opening, and you are ready for a coffee date!

Have fun!  and if you make this little project, or any other from this blog, don't forget to upload a pic to the Flickr pool!
AND if you make a Valentine's craft or food item - please join our Linky Party - click over there on the right side bar!  Have a great day.
jessica


You may also enjoy...

Related Posts Plugin for WordPress, Blogger...