


I've been watching Design Star the past few weeks, and I decided my throw pillows in our living room needed refreshing. I wanted one or two texturally interesting pillows, then just a few basic knife-edge pillows. This is one of my pillows to add some texture to our living room - and bonus, by using the selvages it also adds some typography!
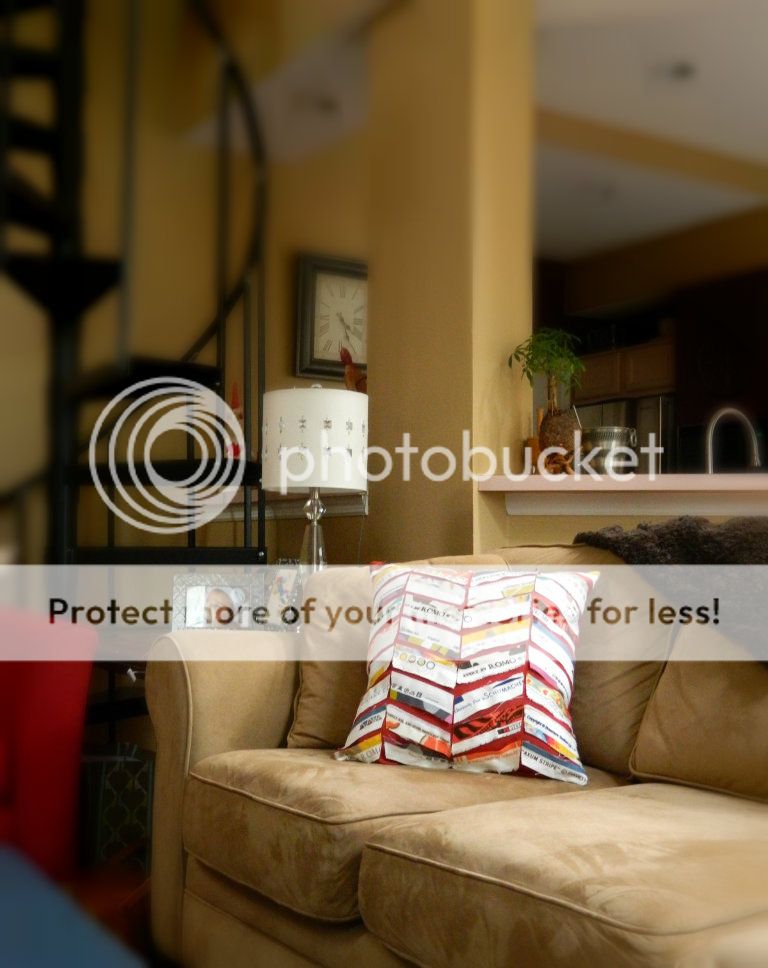
That's my Mom and Dad's house btw - isn't it gorgeous?!
The one from West Elm doesn't use selvages and it still looks great - so you could make yours either way.
Here's West Elm's pillow:


And here's mine:

If you're ready to make your own, here's what you'll need:
various selvage scraps (or any kind of scraps)
1/2 yard of solid color home decor fabric
rotary cutter(not essential, but it makes it A LOT easier)
self-healing mat(for the rotary cutter)
18" pillow form
scissors/pins/thread/sewing machine/etc.
STEP 1:
Cut out 40 strips of fabric 1 1/2" x 6"
Then cut two squares 18"x18" out of the solid for your pillow.
(if you cut the pillow 18"x18" and then stuff it with an 18" pillow form it will be nice and full - use 3/8" seam allowance.)

STEP 2:
Lay the strips out on a self-healing mat, in the design you would like on your pillow.
Overlap the edges, adjusting the angle of your chevron.

Then, use the edge of a ruler to determine the point of the chevron. Follow the edge of the ruler with the rotary cutter. Repeat this at each chevron point.
It should look like this:

STEP 3:
Pin the strips onto one of the solid squares of fabric.

STEP 4:
Sew the strips on. Starting at the top of the pillow, sew up the center of the first strip, then down the second strip - just following the chevron pattern. When you reach the other side, just sew straight down the edge of the pillow(this will be in the seam allowance) until you get to the next row and begin sewing across those back to the other side.

STEP 5:
Pin the back to the front, right sides together and pin - leaving a substantial opening for the pillowform.

Sew around the edges using 3/8" seam, then clip the corners.

Turn right sides out and stuff with the pillowform.
Close the pillow on the machine - see my tutorial on that here.
Enjoy your new designer pillow!

Happy Sewing!
xoxo
jessica

If you're ready to make your own, here's what you'll need:
various selvage scraps (or any kind of scraps)
1/2 yard of solid color home decor fabric
rotary cutter(not essential, but it makes it A LOT easier)
self-healing mat(for the rotary cutter)
18" pillow form
scissors/pins/thread/sewing machine/etc.
STEP 1:
Cut out 40 strips of fabric 1 1/2" x 6"
Then cut two squares 18"x18" out of the solid for your pillow.
(if you cut the pillow 18"x18" and then stuff it with an 18" pillow form it will be nice and full - use 3/8" seam allowance.)

STEP 2:
Lay the strips out on a self-healing mat, in the design you would like on your pillow.
Overlap the edges, adjusting the angle of your chevron.

Then, use the edge of a ruler to determine the point of the chevron. Follow the edge of the ruler with the rotary cutter. Repeat this at each chevron point.
It should look like this:

Pin the strips onto one of the solid squares of fabric.

STEP 4:
Sew the strips on. Starting at the top of the pillow, sew up the center of the first strip, then down the second strip - just following the chevron pattern. When you reach the other side, just sew straight down the edge of the pillow(this will be in the seam allowance) until you get to the next row and begin sewing across those back to the other side.

STEP 5:
Pin the back to the front, right sides together and pin - leaving a substantial opening for the pillowform.
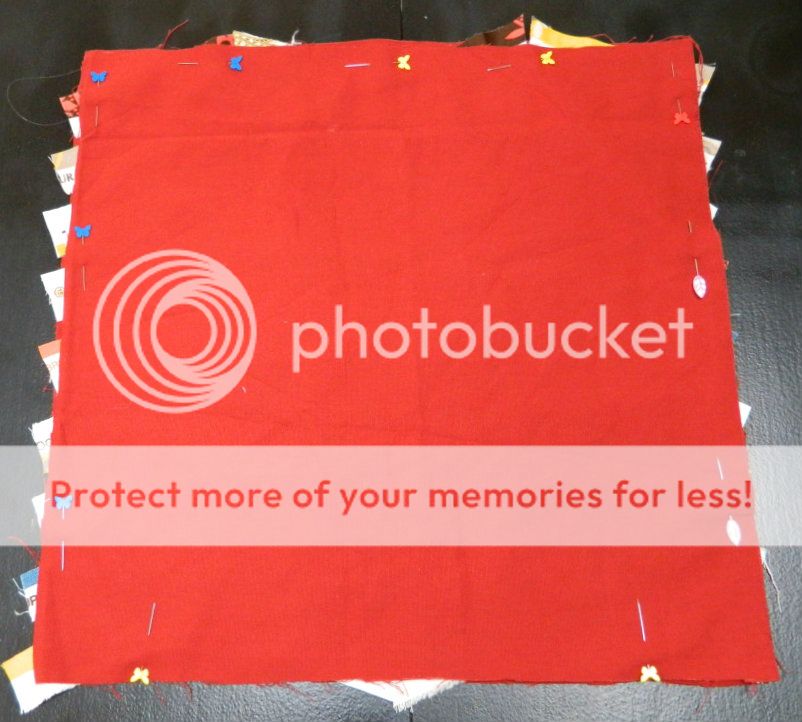
Sew around the edges using 3/8" seam, then clip the corners.

Turn right sides out and stuff with the pillowform.
Close the pillow on the machine - see my tutorial on that here.
Enjoy your new designer pillow!

Happy Sewing!
xoxo
jessica


